Versions Compared

Key

  • This line was added.
  • This line was removed.
  • Formatting was changed.

...

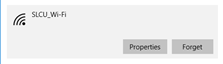
This guide is to resolve problems connecting to the SLCU_WiFi network that occurred after the rename in May 2018.  Testing network was renamed from SLCUtest to SLCU_Wi-Fi. Although server settings have been corrected testing has shown that some Windows 7 and Windows 10 clients are caching the incorrect settings from the previous network configuration, causing certificate and security errors to occur when connecting to the new network.

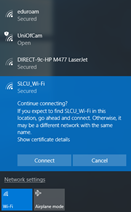
Error messages typically look like this:

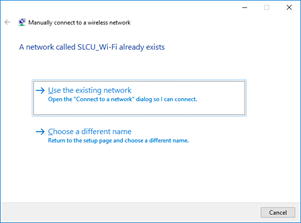
These instructions will guide you through clearing the cached settings and reconnecting with the correct ones.
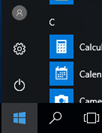
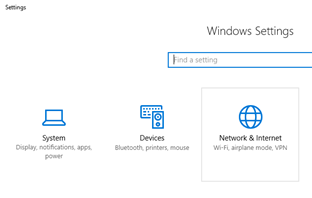
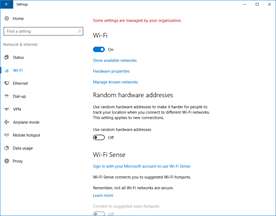
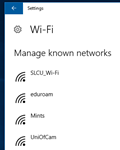
Instructions


Expand
titleInstructions for Windows 10
  1. Open the Start Menu
  2. Select the Settings menu icon (Cog) .
  3. Select the Network & Internet settings
  4. Select Wi-Fi from the left hand side and from the Wi-Fi menu select Manage known networks


  5. If SLCUtest still exists select it and select Forget. Do the same for SLCU_Wi-Fi.
  6. Using the arrow at the top left of the window return to the Network & Internet menu.
  7. Scroll down to the bottom of the screen and click Network and Sharing Center

  8. Select Set up a new connection or network

  9. Then select Manually connect to a wireless network

  10. Enter the details as below. You may also select the tick box to start this connection automatically

  11. If the Wi-Fi network still exists on the system a new pop up message will appear.
  12. Click use the existing network
  13. This should overwrite the existing configuration.
  14. When you next select SLCU_Wi-Fi you will be asked for your SLCU domain log in to start the network connection. You may need to include SLCU before your username, SLCU\user.name

  15. On your first connection you may be shown a warning about checking the wi-fi. This is normal and when in the SLCU building it will be OK to click connect.

...