Remotely Connect to Your Work PC
- Jennifer Allan
- Kathy Downham
- Eike Friedrich (Unlicensed)
Introduction
If you are going to work from home on a home PC, you might want to connect to your (on site) work computer in order to access work specific applications. To do this, you will need to prepare your on site work PC in advance to accept incoming connections, and also not to power off automatically.
People often have applications installed on a computer on site. They need to be able to remotely access the computer on site, when working elsewhere: through the VPN, or even from another desk. Each computer needs to be set up to enable this ability using the following instructions. You can also request that the Service Desk configure this for you, if you have a CSCS-managed computer.
Requirements
To set this up yourself requires administrative rights on your work computer. If you do not have these, then please contact the Service Desk Team who will do this for you.
Instructions for Windows 10
Step 1 - Configure your work PC to accept remote connections
- Make a note of your computer's name - you will need this when connecting to it. Follow this guide if you aren't sure.
- Click the Start button (
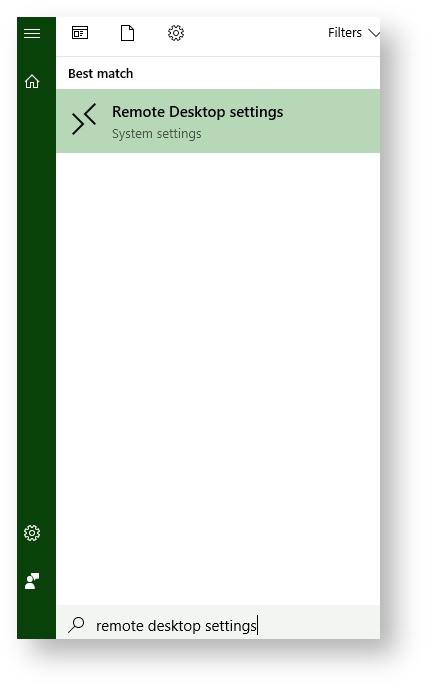
 ) and type Remote Desktop Settings; then click on it when it appears in the start menu.
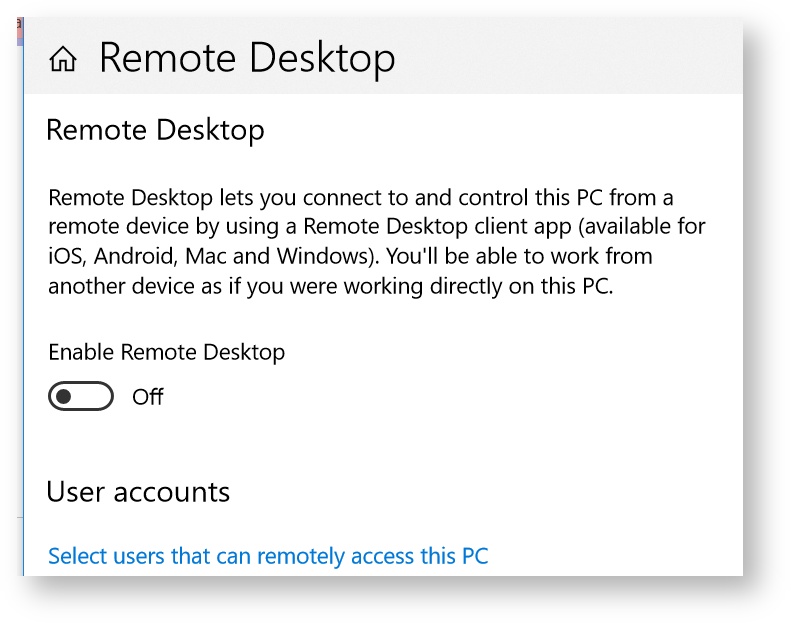
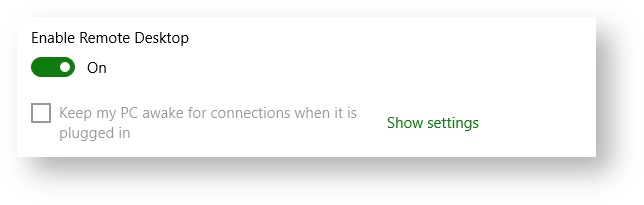
 - Slide the Enable Remote Desktop option, from Off to On:
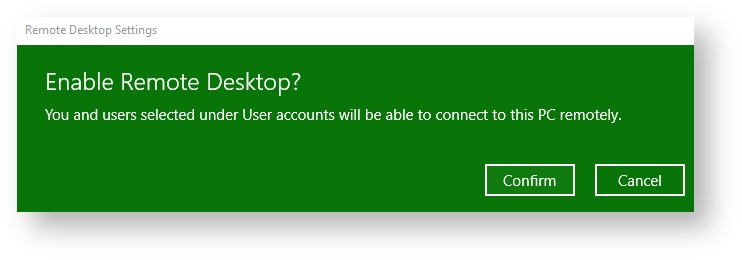
- You will receive a prompt, click Confirm
Step 2 - Configure your PC to stay on
Without this, your PC will go to sleep after 30 minutes, and you won't be able to connect. * on some PC's this may be set by default so you may not be able to alter it
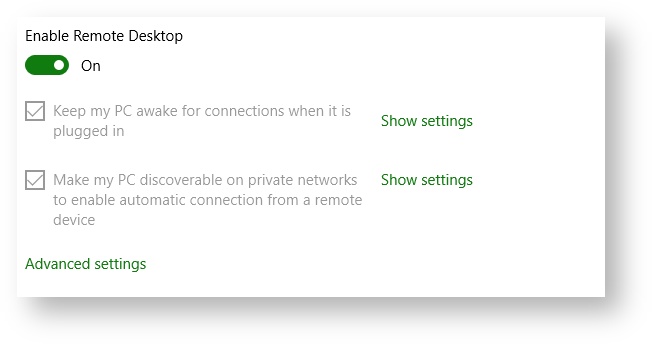
- Click Show settings beside Keep my PC awake for connections when it is plugged in
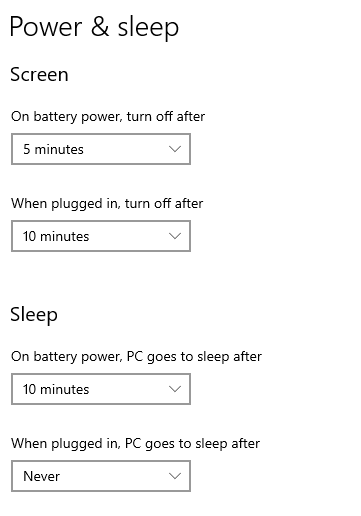
- Under Sleep - change When plugged in, turn off after section choose Never:
- To go back, press the "back" button on your mouse or backspace on your keyboard
Step 3 - Ensure all Accounts Have Access
Local administrators have access by default - if you wish to add other people to be able to connect to the PC, then you will need to add them to the appropriate security group:
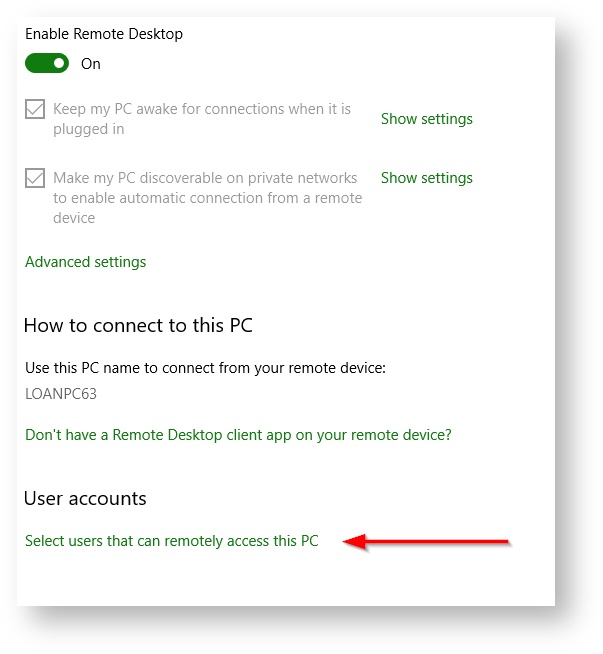
- Scroll down and find the User accounts section and click Select users that can remotely access this pc:
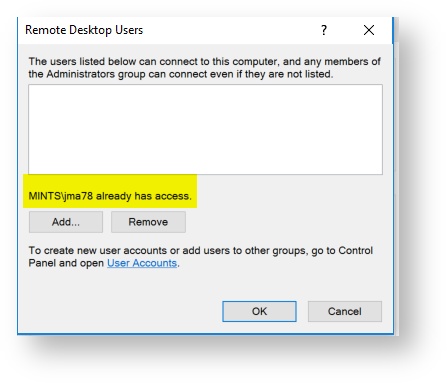
- If you already have access it will be indicated above the Add button (see yellow highlight). If this does not appear, click Add
- In the Select Users or Groups dialogue box, type the name of the user that you want to add, and then click OK.
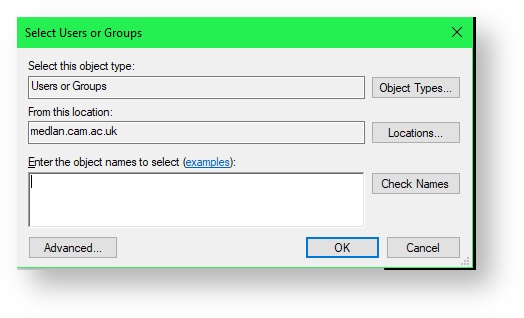
- for a Mints user type MINTS\CRSid for example MINTS\abc123
- for an SLCU user type SLCU\first.lastname
- The name will be displayed in the list of users in the Remote Desktop Users dialogue box. Click OK.

- Click Advanced settings and tick beside Require computers to use Network Level Authentication to connect (recommended)
Configure a Windows 7 computer to allow remote connections
- Make a note of your computer's name - you will need this when connecting to it. Follow this guide if you aren't sure.
- Open System by clicking the Start button, right-clicking Computer, and then clicking Properties.
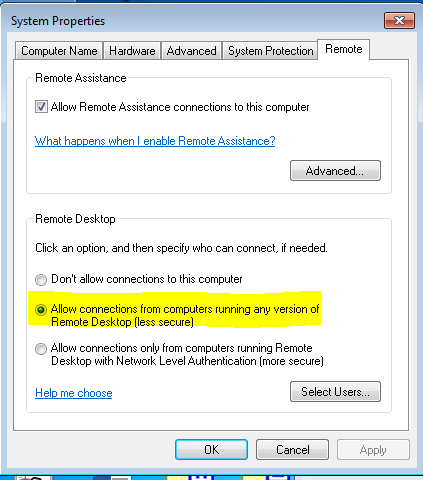
- Click Remote settings (on the left side of the window). If you're prompted for an administrator password or confirmation, type the password or provide confirmation.
- In the Remote Desktop section of the window, select Allow connections from computers running any version of Remote Desktop (less secure)
- Click the Select Users button.
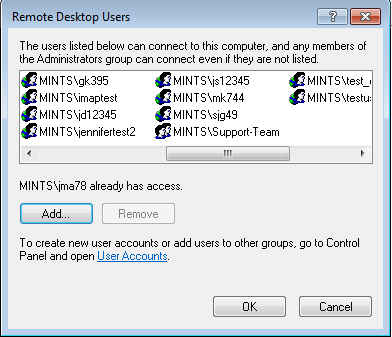
- In the Remote Desktop Users dialog box, click the Add button.
- In the Select Users or Groups dialog box, do the following:
- In Enter the object names to select section, type the name of the user that you want to add, and then click OK.
- for a Mints user type MINTS\crsid for example MINTS\abc123
- for an SLCU user type SLCU\first.lastname
- The name will be displayed in the list of users in the Remote Desktop Users dialog box. Click OK, and then click OK again.
- In Enter the object names to select section, type the name of the user that you want to add, and then click OK.
- Configure the computer to stay powered up
- Click the Start button, select Control Panel, find – Power Options, click Change when the computer sleeps. In the Put the computer to sleep field change to Never and click the Save changes button.

- Click the Start button, select Control Panel, find – Power Options, click Change when the computer sleeps. In the Put the computer to sleep field change to Never and click the Save changes button.
Using Remote Desktop Connection from home
To connect to a computer with RDC enabled follow these steps. Note your computer in the office must be switched on. If you forgot to switch on your office computer before you left the office, try calling a colleague and have them switch on the computer for you.
- First, launch and sign into the VPN
- Click on the Start button and type Remote Desktop Connection, and then select Remote Desktop Connection.
You will see a window popup that looks like this:
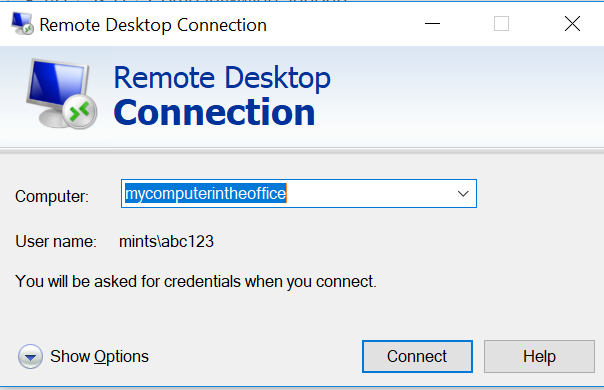
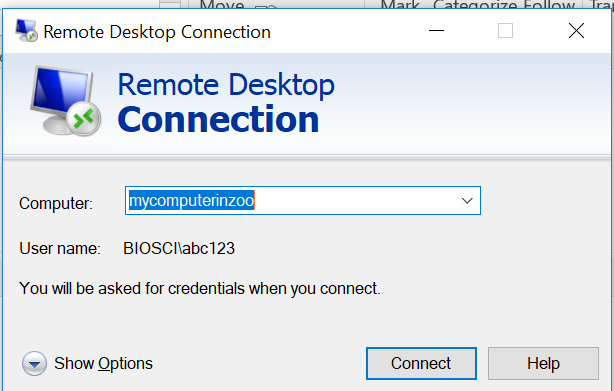
Type the name of the PC you want to connect to (from Step 1 of the Instructions section), and then select Connect. If the username field does not show your domain you can click the show options button and expand the window to add in the appropriate username:
- Medschl users: MINTS\abc123
- Zoology users: BIOSCI\abc123
- Sainsbury Laboratory users: SLCU\John.Smith
You will be prompted for a username and password. Log in with your Mints, Zoology or SLCU username and password.
- A window will open up showing the desktop from the other computer. If you were logged in already to that computer (ie before you went off site), it will connect you to the session you had running. All the applications and documents you had open will be visible for you to carry on working with them. If you were not already logged in, it will open up a new session just like if you had powered on your PC.
Signing out (Windows 10):
- When you are done you can disconnect from the session by closing the window. If you do this, you will be able to log back in and continue where you left off.
- If you click the Windows / Start button
 , then the Account icon
  and choose Sign out, your session will be ended and all applications closed. However, your on site computer will remain switched on, so that you can access it again in future.
 - If you click the Windows / Start button and choose shut down, your on site computer will be powered off. Someone will need to switch on your computer. before you can access it again. Although CSCS are sometimes able to do this remotely (via Wake-on-LAN), this cannot be guaranteed. Thus a colleague or a custodian may need to visit your on site computer in person, and physically switch it on via the computer's power button.
Using Remote Desktop from an Apple Mac to connect to a Windows PC
*You will first need to make sure your Windows PC in the office is set up to accept Remote Connections, see the instructions above “Instructions for Windows 10 - Steps 1-2 - Configure your work PC to accept remote connections” *
From the App Store download “Microsoft Remote Desktop”
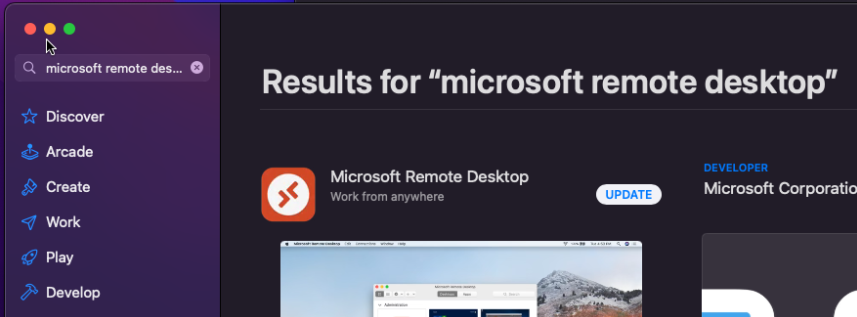
Look for the symbol if you aren’t sure which one to use:

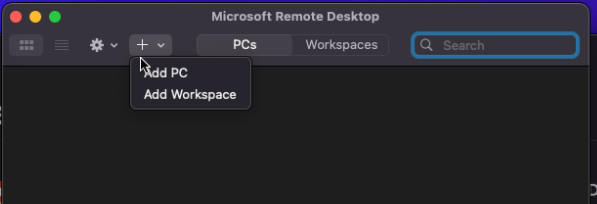
Run the software and click on the + and Add PC
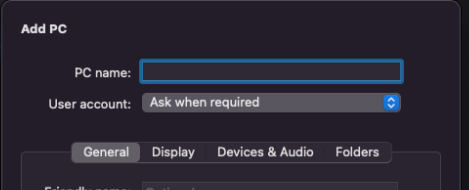
Add the PC name, you don’t need to change any other details, then click add at the bottom
Once added the PC will appear as an icon
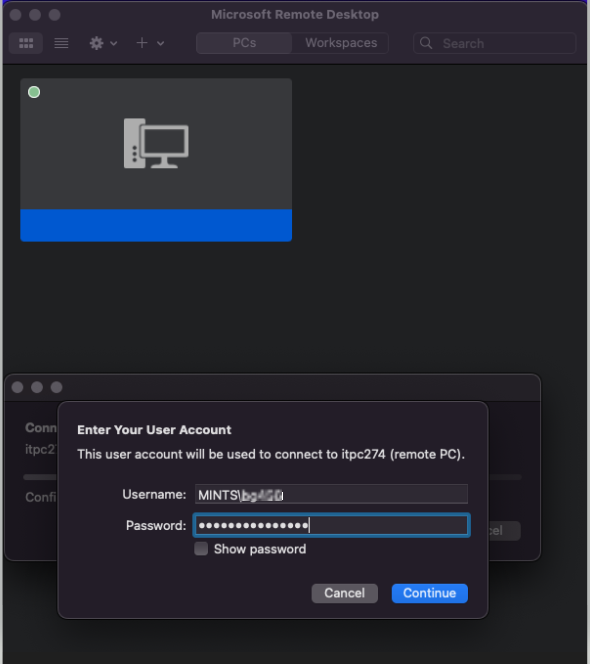
Click on that and it will start the connection with options to add your username and password
For the username add: MINTS\crsid and your clinical school password
If the details are added correctly and the PC you are remoting to is set up to receive Remote Desktop (see above “Instructions for Windows 10 - Step 1-2 - Configure your work PC to accept remote connections") it will connect and automatically log you in, you may see a certificate warning but accept that and proceed