/
Mapping a Group Drive on a Windows Computer
Mapping a Group Drive on a Windows Computer
- Aaron Hubbard (Unlicensed)
- Dave Clarke
- Daniel Haak (Unlicensed)
Owned by Aaron Hubbard (Unlicensed)
If you do not know the exact path of the drive you want to map please see the guide linked below, this will be required later on.
How to Determine the Name/Location of a Group Drive
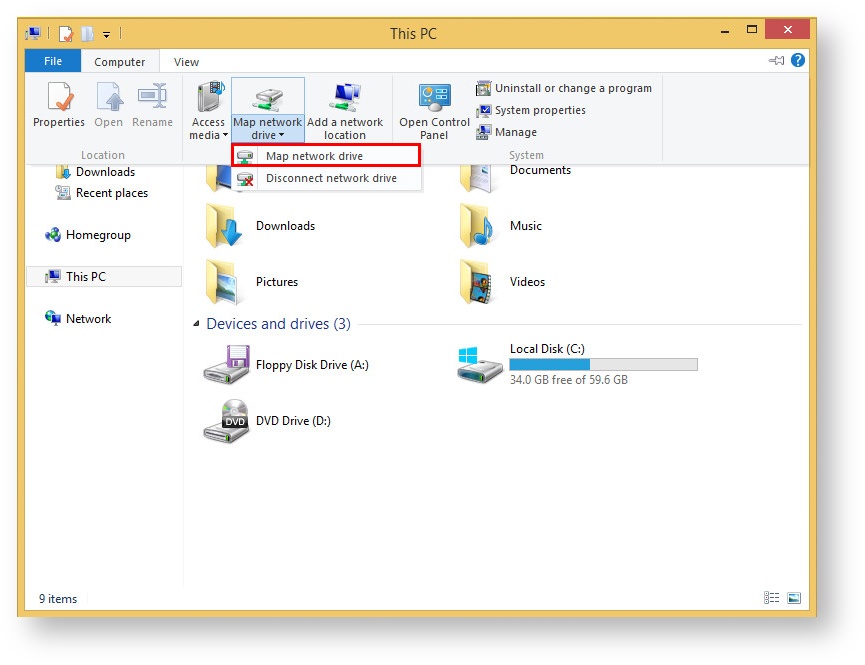
Open 'Computer'. On the menu bar across the top, select the 'Computer' tab, then the 'Map network drive' drop-down. Then please click 'Map Network Drive'
For Windows 10, after opening 'Computer', click 'Map network drive' at the top.
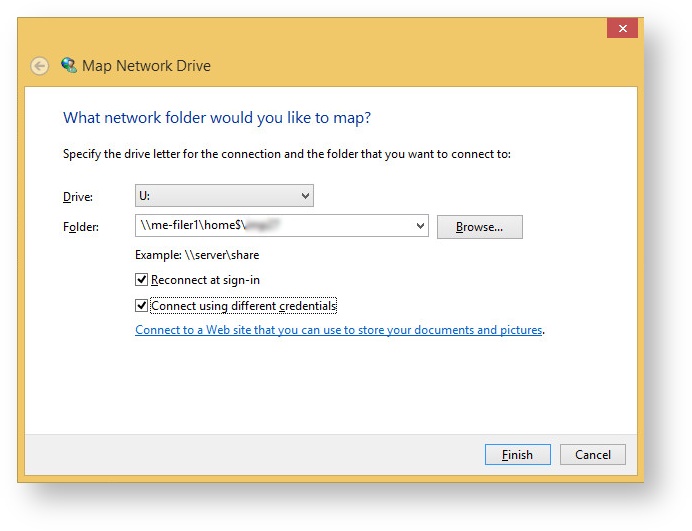
- A new window will open titled 'Map Network Drive'. Choose a drive letter you wish to map the network drive to. For convenience, we recommend using the same drive letter you'd use at work. For example, using U: for your home drive. Then, in the Folder box, type in the network location retrieve earlier. You then have two options. Once complete, click Finish.
- Reconnect at sign-in - This will automatically attempt to connect to the network drive every time you log in to your computer.
- Connect using different credentials - you should tick this as you'll need to specify your MINTS/BIOSCI/SLCU credentials to be able to access your network drives.
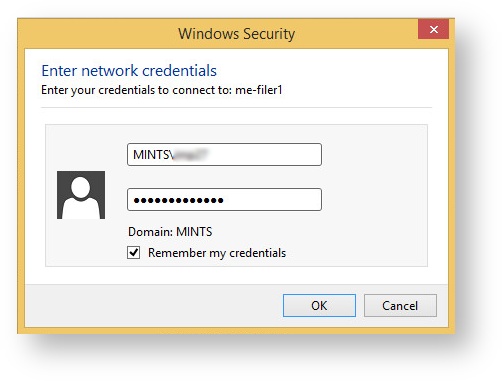
You'll then be prompted for your username and password, enter them. Click OK.
You also have the option to Remember the credentials. We recommend unchecking this to help prevent unauthorised access to your data.You'll need to prefix your username with your domain. Example:- Medschl users: MINTS\abc123
- Zoology users: BIOSCI\abc123
- Sainsbury Laboratory users: SLCU\John.Smith
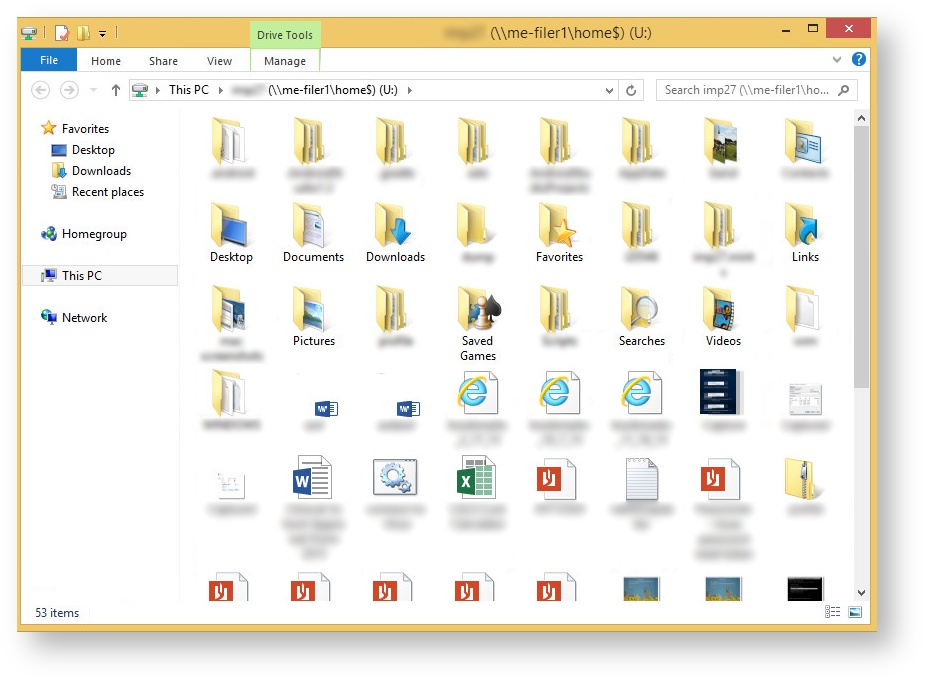
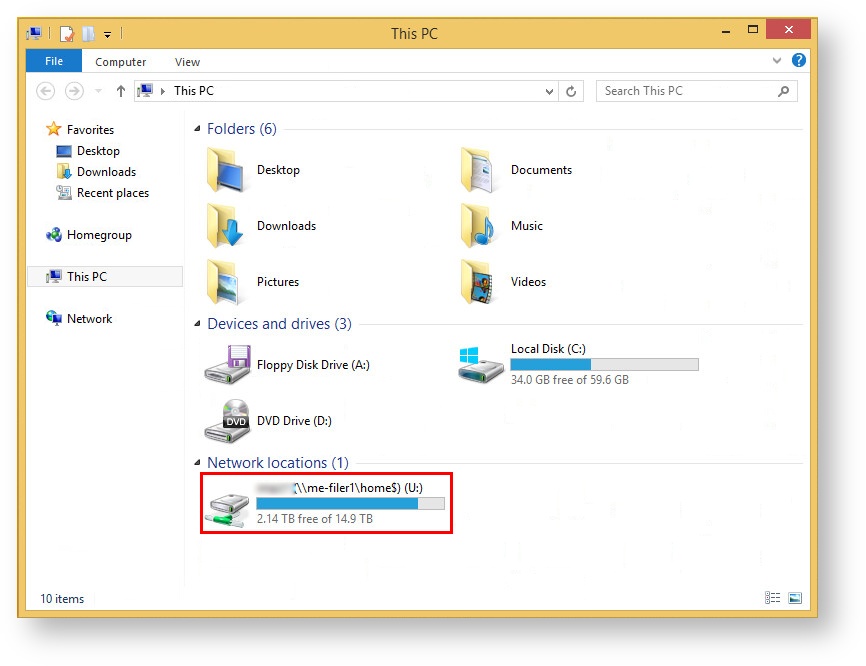
- If the network drive mapping is successful, the drive will then be displayed for you. It'll also be listed as a Network Location in Computer.
, multiple selections available,