...
| Expand | ||
|---|---|---|
| ||
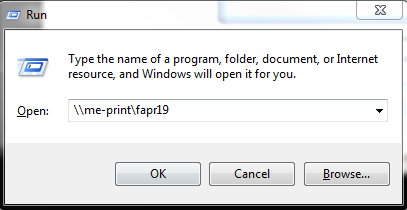
Install the printer on a PC:Step 1: On your keyboard hold down the Windows button and type the letter r. The Run window will appear (as below). In the Open line type the following text: \\me-print\fapr19 Then click the OK button.
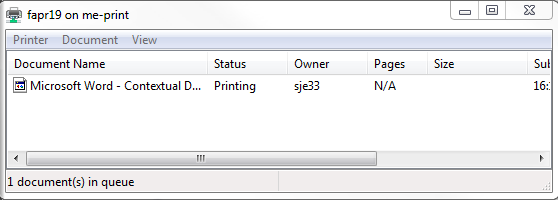
The printer will install and the printer window will open up on your computer. In the menu, click Printer and then choose Properties.
The window below will appear. Click on Preferences (circled in yellow).
Step 2: Click on the elipsis ellipsis button (...) beside Secure print (highlighted in yellow on the screenshot below).
You will be prompted to set a secure code that you will need to use to release print jobs from the printer. Type in a 4-10 digit code and confirm it. Click OK and close all the windows
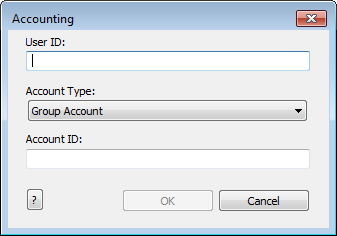
To print a document:Print from the application as you normally do. If you are prompted with the Accounting window, make sure that you enter your User ID, select your Account Type as "Group Account" (NOT "default group account" in the drop down menu and enter your Account ID in the next field (this information was given to you by the printer Administrator and is NOT your secure code you set up). Note that once you have entered this information, it will be automatically saved for you the next time you print.
Go to the printer and release the job by selecting the third button down on the far left of the photocopier screen. Select the tab Secure Print jobs, find your print job and select it. Then enter the secure print code you made in step 2 above. Push the release job button found towards the top right of screen. |


...