Introduction
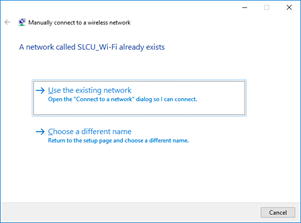
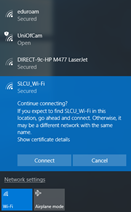
This guide is to resolve problems connecting to the SLCU_WiFi network. Testing has shown that Windows 7 and Windows 10 clients are caching incorrect settings from the previous network configuration, causing certificate and security errors to occur when connecting to the new network.
Instructions
| Expand |
|---|
| title | Instructions for Windows 10 |
|---|
|
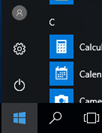
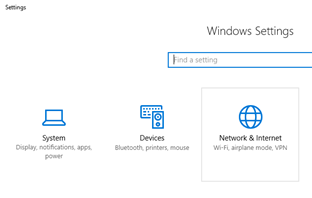
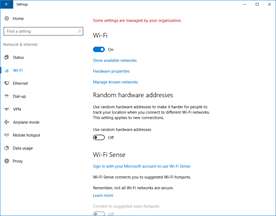
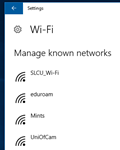
We have identified a problem when connecting to SLCU_Wi-Fi from a device running Windows |
...
| Expand |
|---|
| title | Instructions for Windows 7 |
|---|
|
Click Start->Control Panel, Select Network and Internet, and then click Network and Sharing Center
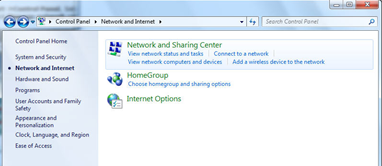 Image Modified Image Modified- Go to the "Network and Sharing Center" and click on "Manage wireless networks" on the left hand side.
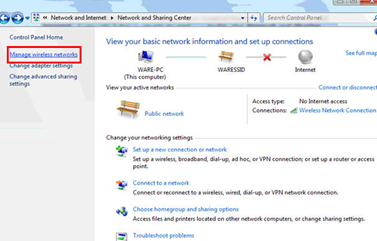 Image Modified Image Modified - Click "Add"
- Click "Manually create a network profile"
- Under "Network name:" enter SLCU_Wi-Fi and select WPA2-Enterprise under "Security Type:"
- Click "Next" and then select "Change connection settings"
- Click on the "Security" tab and you should now see this window:
 Image Modified Image Modified
- If you now click on settings and deselect the "Validate server certificate" option at the top of the new window, you should now see this:
 Image Modified Image Modified
- The last thing to do at this window is to click "Configure.." and deselect the option in the window that opens up. If you now click "OK" on these two windows, you should be back to the same window in step 6
- The last change to make requires clicking on "Advanced Settings" and selecting the "Specify authentication mode" box so the window looks like the following:
 Image Modified Image Modified - You can "OK" the windows that are open and try to connect to "SLCU_Wi-Fi". If prompted for credentials, this will be your standard SLCU user login. Some users may need to put slcu\ before the user name.
|
