User Guide - Accounts
- Jennifer Allan
- Emily Carver
Welcome to Ivanti Service Manager training for Finance and Accounts staff.
Logging in
Go to https://itsupport.medschl.cam.ac.uk
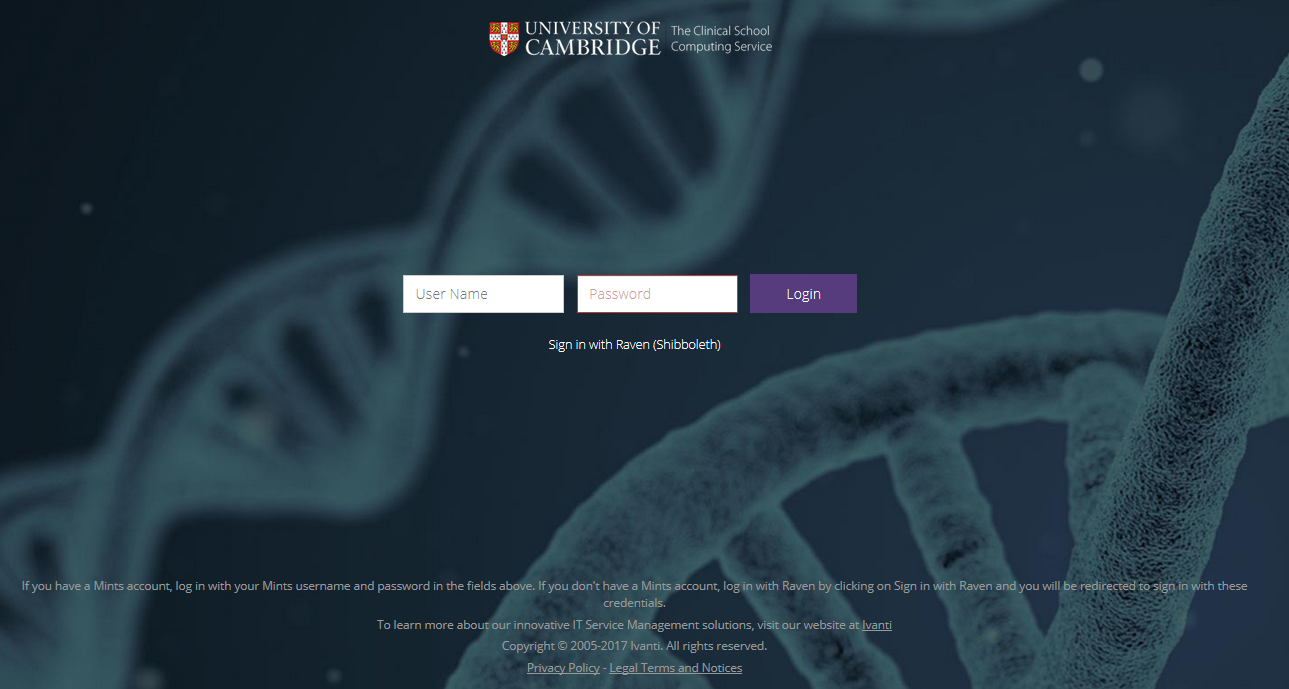
If you have a Mints (medschl) username and password, enter them into the fields in white and click the Login button
If you don't have a Mints account you can click Sign in with Raven (Shibboleth) and you will be taken to a page to enter your Raven credentials. If this is your first time using Raven for the CSCS portal you'll see a screen listing all of the information that will be shared between Raven and our portal.
If you have neither account, please call the Service Desk at 01223 (3) 36261.
Sometimes you may see the following error. Most often this means you have typed or used an incorrect password. Please try again.

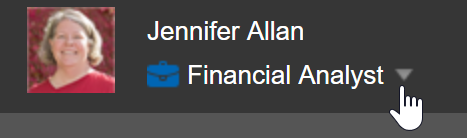
You will be prompted to choose a role - either Financial Analyst or Self Service User. Choose Financial Analyst and click the Submit button.
Roles
You have two roles available to you Self Service User and Financial Analyst. To switch role click on the little down arrow beside your name and choose another role.
This document addresses how to work when using the Financial Analyst role. If you need help using the Self Service user role, please see User Guide - Self Service Portal.
Workspaces
Workspaces are the items that show up in the dark border at the top.

These can be reordered and changed by the administrator. What you see there is dictated by your role so if you aren't seeing what you expect, try a different role.
The More... link goes to a menu of all of the other workspaces you can access. Only the most popular ones appear before More....
Dashboards
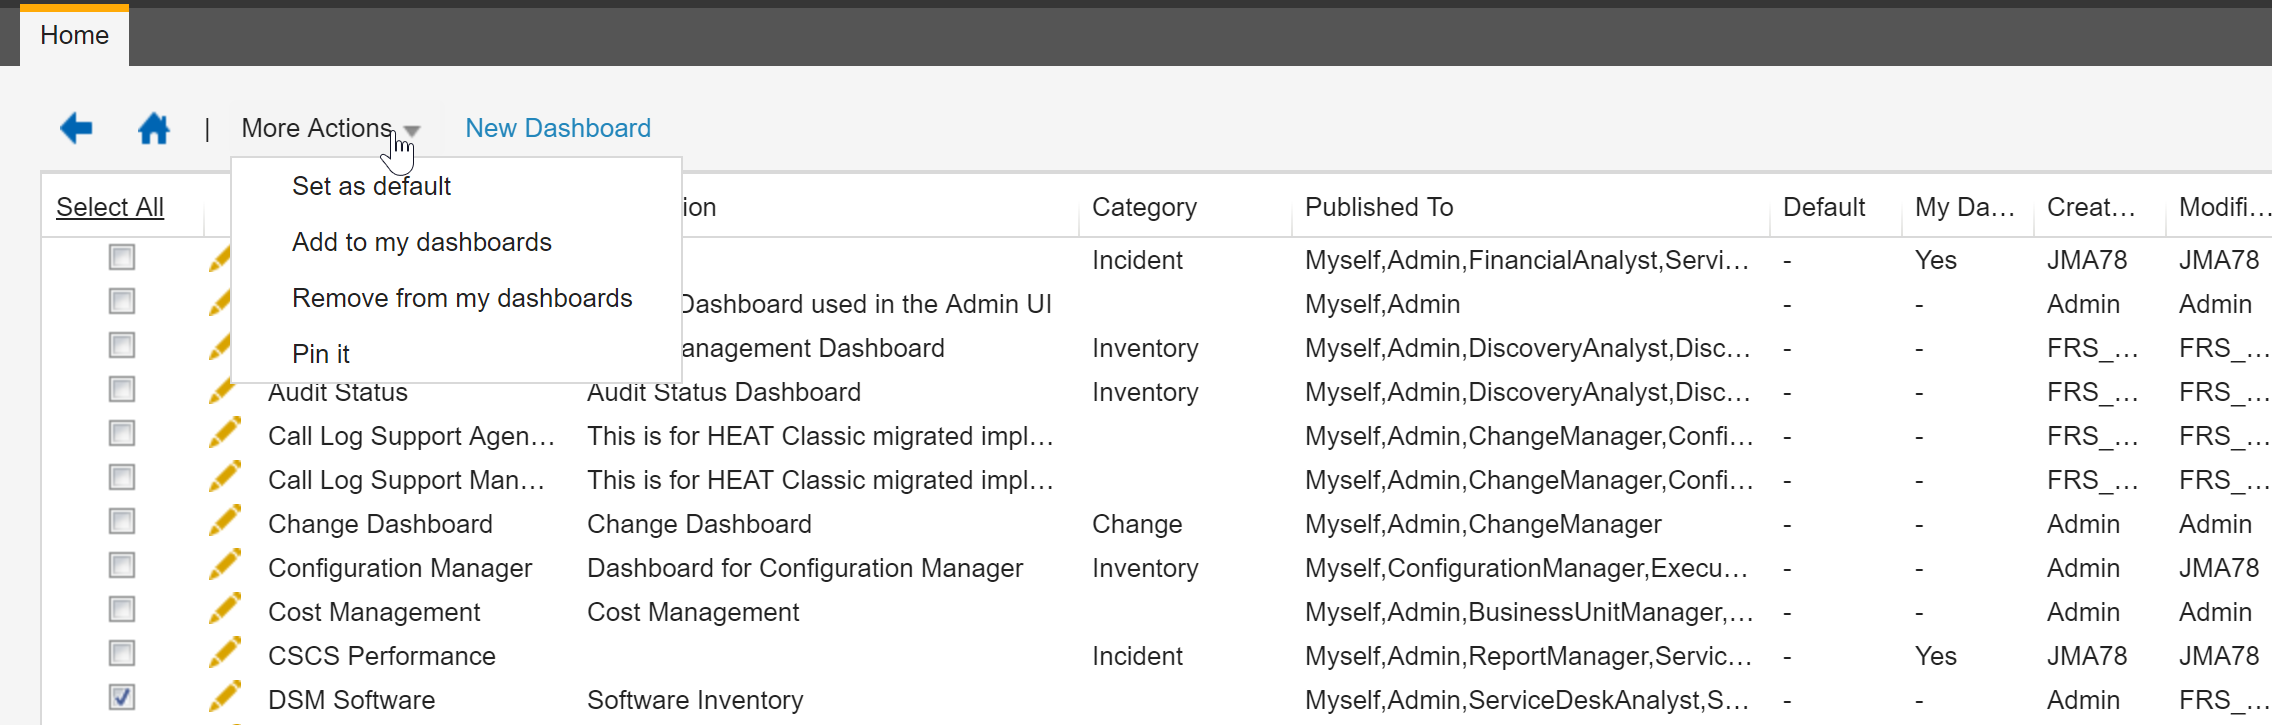
A dashboard is a collection of searches displayed on a single page. They are visible by clicking on the Home tab. The default dashboard is set according to your role. All the dashboards you can access are listed across the top or if it over spills there will be a down arrow on the far right to click on and reveal any other dashboards that might be hidden.

If you don't see a dashboard you can click on the down arrow beside the current dashboard selected. In the screenshot above that is the arrow beside My Work. Then select All Dashboards. You can then select any of the dashboards you want then click the More Actions arrow and choose Add to my dashboards.
You can also create your own dashboards.
View a different dashboard
Just click on the different dashboard items to display the dashboard.
Select results and expand, drill downs
Each pane of a dashboard has 3 icons on the right 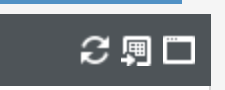 .
.
You can use these to refresh, export the results to Excel or maximise the search to the full screen. You can also drill down to an item by double clicking on it.
How do I know what to work on?
The dashboard has 4 parts to it, each showing different lists of tickets.
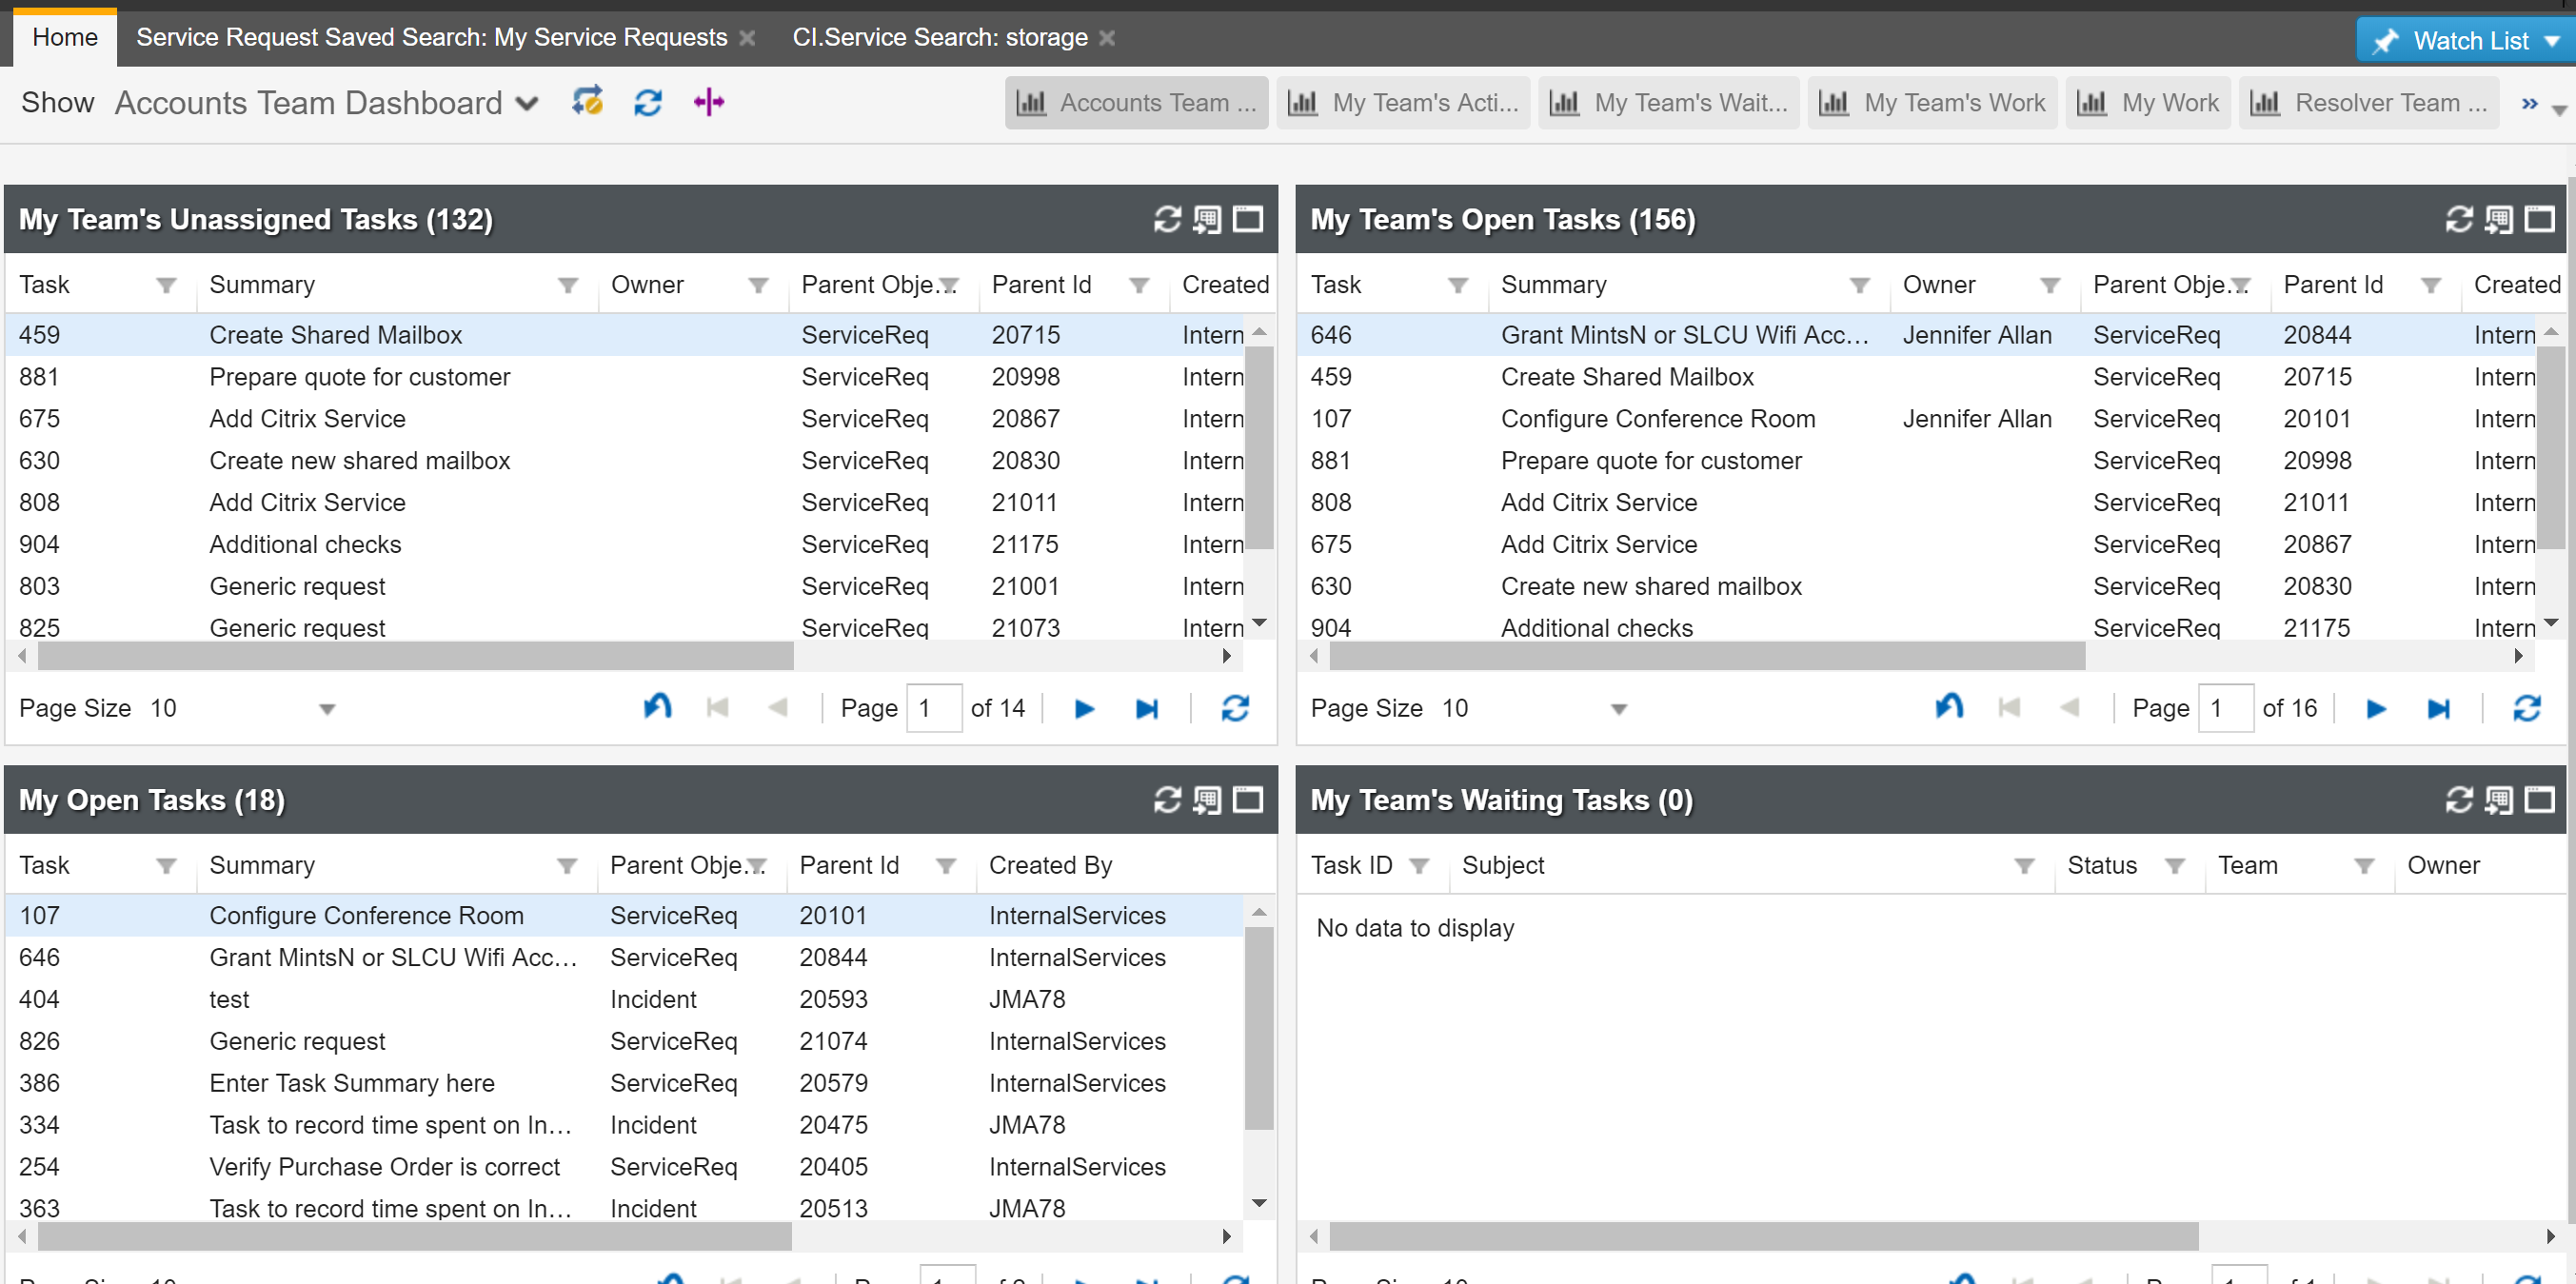
My Team's Unassigned Tasks - this will show anythign assigned to the Accounts team that is not owned by a specific person
My Team's Open Tasks - this shows all the tasks assigned to the Accounts team that is not yet complete
My Open Tasks - when you take ownership of a task, it will show up here as long as it is not yet completed.
My Team's Waiting Tasks - there is a waiting status on a task (that I don't recommend you use) but if it is needed or happens accidentally, the task will show up on this list.
Searches
There are a number of ways to search in Ivanti.
IMPORTANT: the most key thing to know is that you have to search within an object in order to find something. So, if you are looking for an incident, go to incidents. If you type an incident number in the request search box, then no result will be found.
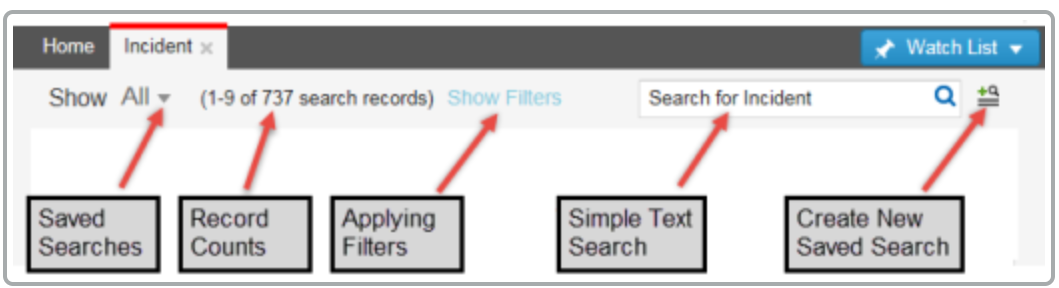
Simple Text Search
Each workspace has a simple search box in the top right. You can try searching here for what you are looking for. Here are all the rules for searching.
Filter Search
When you are looking at a list in ISM you'll see the name of the search, the number of records it returned and the Show Filters link in blue. Click 'Show Filters' and you'll see a list of some commonly searched items in that workspace that you can easily tick if they relate to what you want to search for. Note: the results will be based on the initial search you are in, so if you want to see closed incidents, best to start out with the 'All Incidents' search.

If you think it would be helpful to add some filter items, create an Ivanti ISM Improvement request in the Service Catalogue for the administrators to look at. Describe what items you'd like to be able to filter on.
Saved Search
If you are often creating a certain search save time by creating a custom one.
Click the down arrow beside the name of the search you are in and select New Saved Search. It will open up the criteria of the search you are in. Here you can add fields and conditions to create the search you want. Then save it and in the Settings button, publish it to other people if you have the appropriate permissions. If you don't you'll be the only one who can see the search.

When you click in the fields to add criteria you'll be presented with a very long and rather daunting list of fields. The custom fields we created are at the top and will be prefixed with AA_, AB_ and AC_ . The default ones are lower down and most of them are sensibly named. Feel free to try different combinations or to ask for help from an administrator who knows the data model. Once you think you've got it, click Run Search and see if you get the results you expect.
Here is the official manual on searching - it's somewhat helpful - https://itsm.medschl.cam.ac.uk/HEAT/help/admin/Content/Configure/Search/Using%20Record%20Search.htm. Honestly you'd be better to ask for help from an administrator.
Navigating and Finding things
There are a few useful things to know about the UI.
Lists
When you go to a workspace you usually see a list showing the results of a search. The list is quite a configurable thing and can help you easily find what you're looking for.
If you aren't seeing enough results on a list, choose a different page size. If the columns don't seem to be in the right place, click the blue reset arrow beside the page size and it will reset the list to its default column positions.

Multi select
In a list, you can shift + click to multi select - then apply a quick action. Not quite as useful as some other tools like JIRA where you can select and amend multiple records very easily, but it can be useful in some instances.
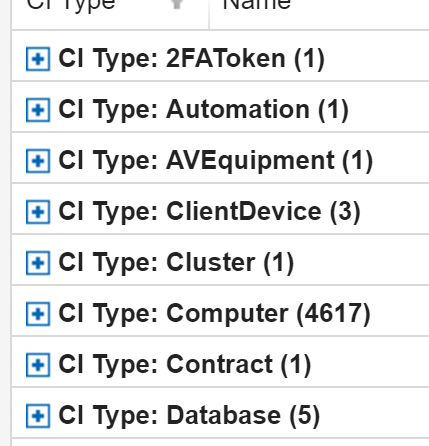
Grouping and Filtering
In a list, you can group and sort by many of the columns. This needs to be configured by an administrator so if we missed setting that for a particular column, reate an Ivanti ISM Improvement request in the Service Catalogue for the administrators. Grouping is particularly useful for CIs.
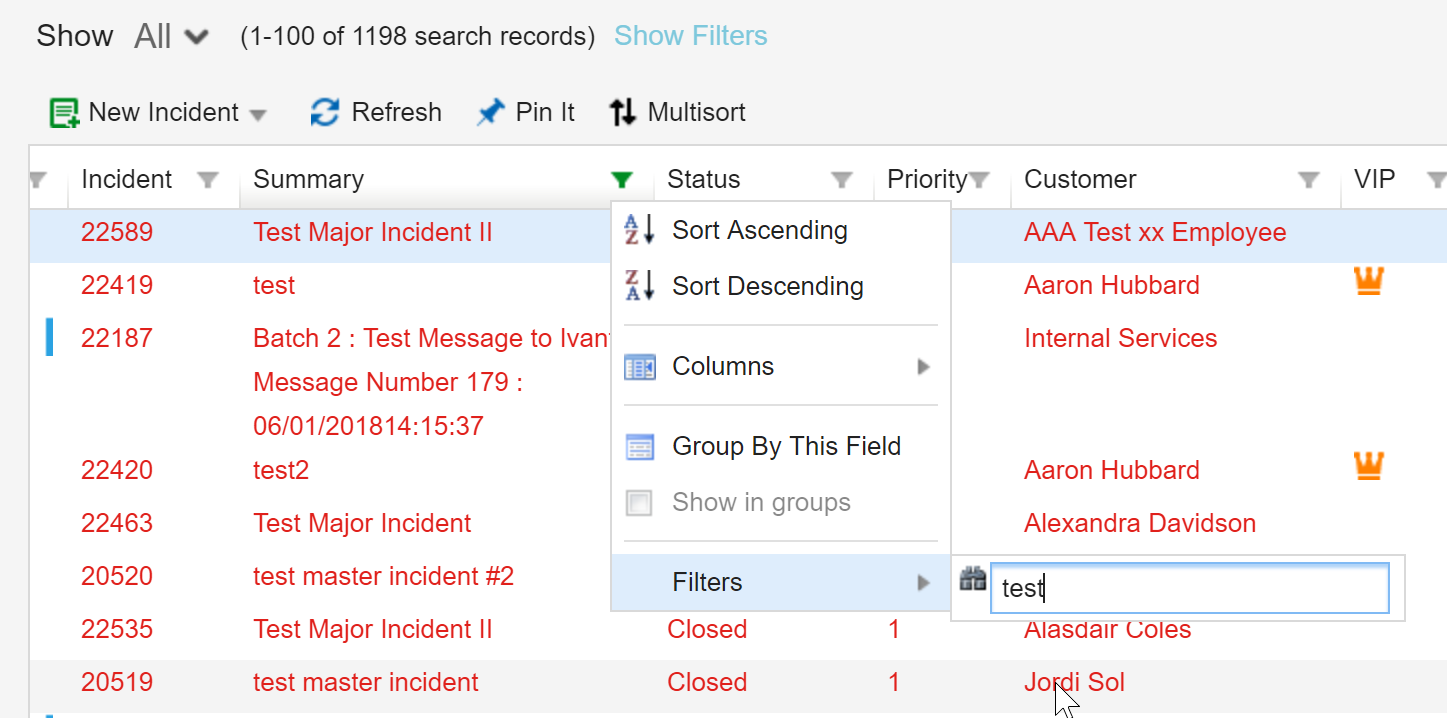
You can ungroup by clicking the funnel on that column and unticking Show in Groups.
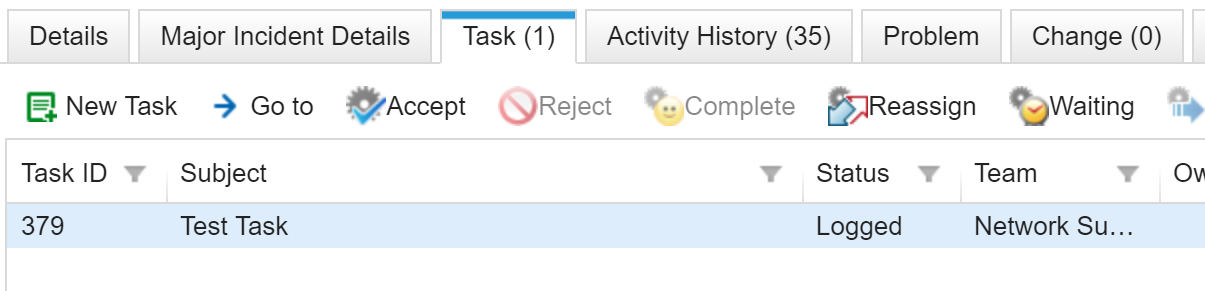
You can also use a word filter by clicking on the funnel and choosing Filters. In the example below I'm filtering All Incidents for the word Test in the summary. When there is a filter applied the funnel will be green. Don't forget to remove the filter when you're done!
Go to Arrow
When you are looking at a list of tasks in an Incident and you click on one you'll get a brief screen with some details (same with a CI). If you need to see the whole record use the Go to arrow. Select the item and click the Go to arrow in blue.
Workspaces you'll be using
The parts of the application that you'll be using the most are covered below. I've created guides for many of them and will link to the different documents here for your reference.

Org Unit
This workspace has a hierarchy of all of the groups and departments we deal with.
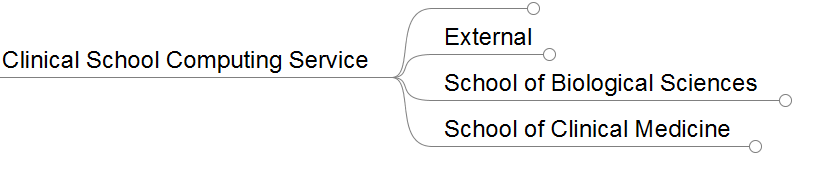
The Clinical School Computing Service is at the top, because we are a service provider for all these other entities. Under that are the 2 Schools and External which means external to the Schools.
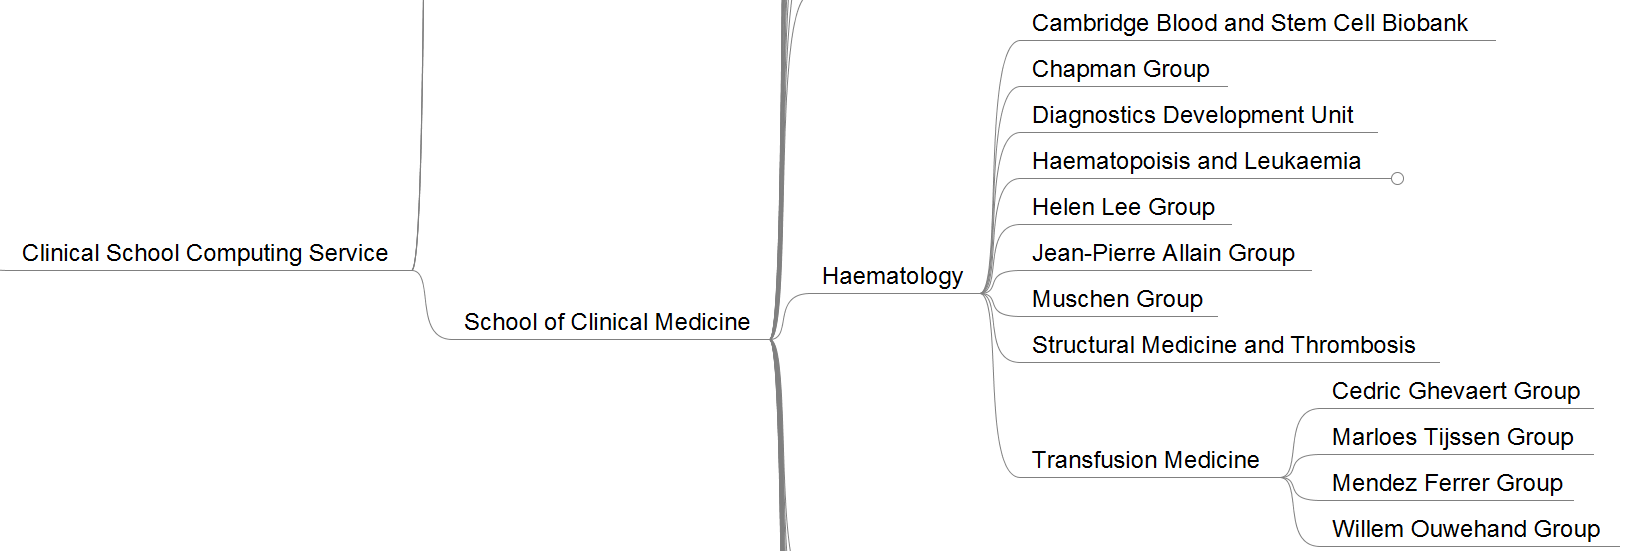
There are 2 levels under the Schools. Level 3 is the Departments, Institutions, Institutes. And under them is level 4 which is the research groups. Here you can see the structure under Haematology. For example:
Level 0 - Clinical School Computing Service
Level 1 - School of Clincial Medicine
Level 2 - Haematoloty
Level 3 - Transfusion Medicine
Level 4 - Willem Ouwehand Group
This may quickly become out of date. If you are aware of a change, please let the administrators know.
Each of these entities could be billed for our charges.
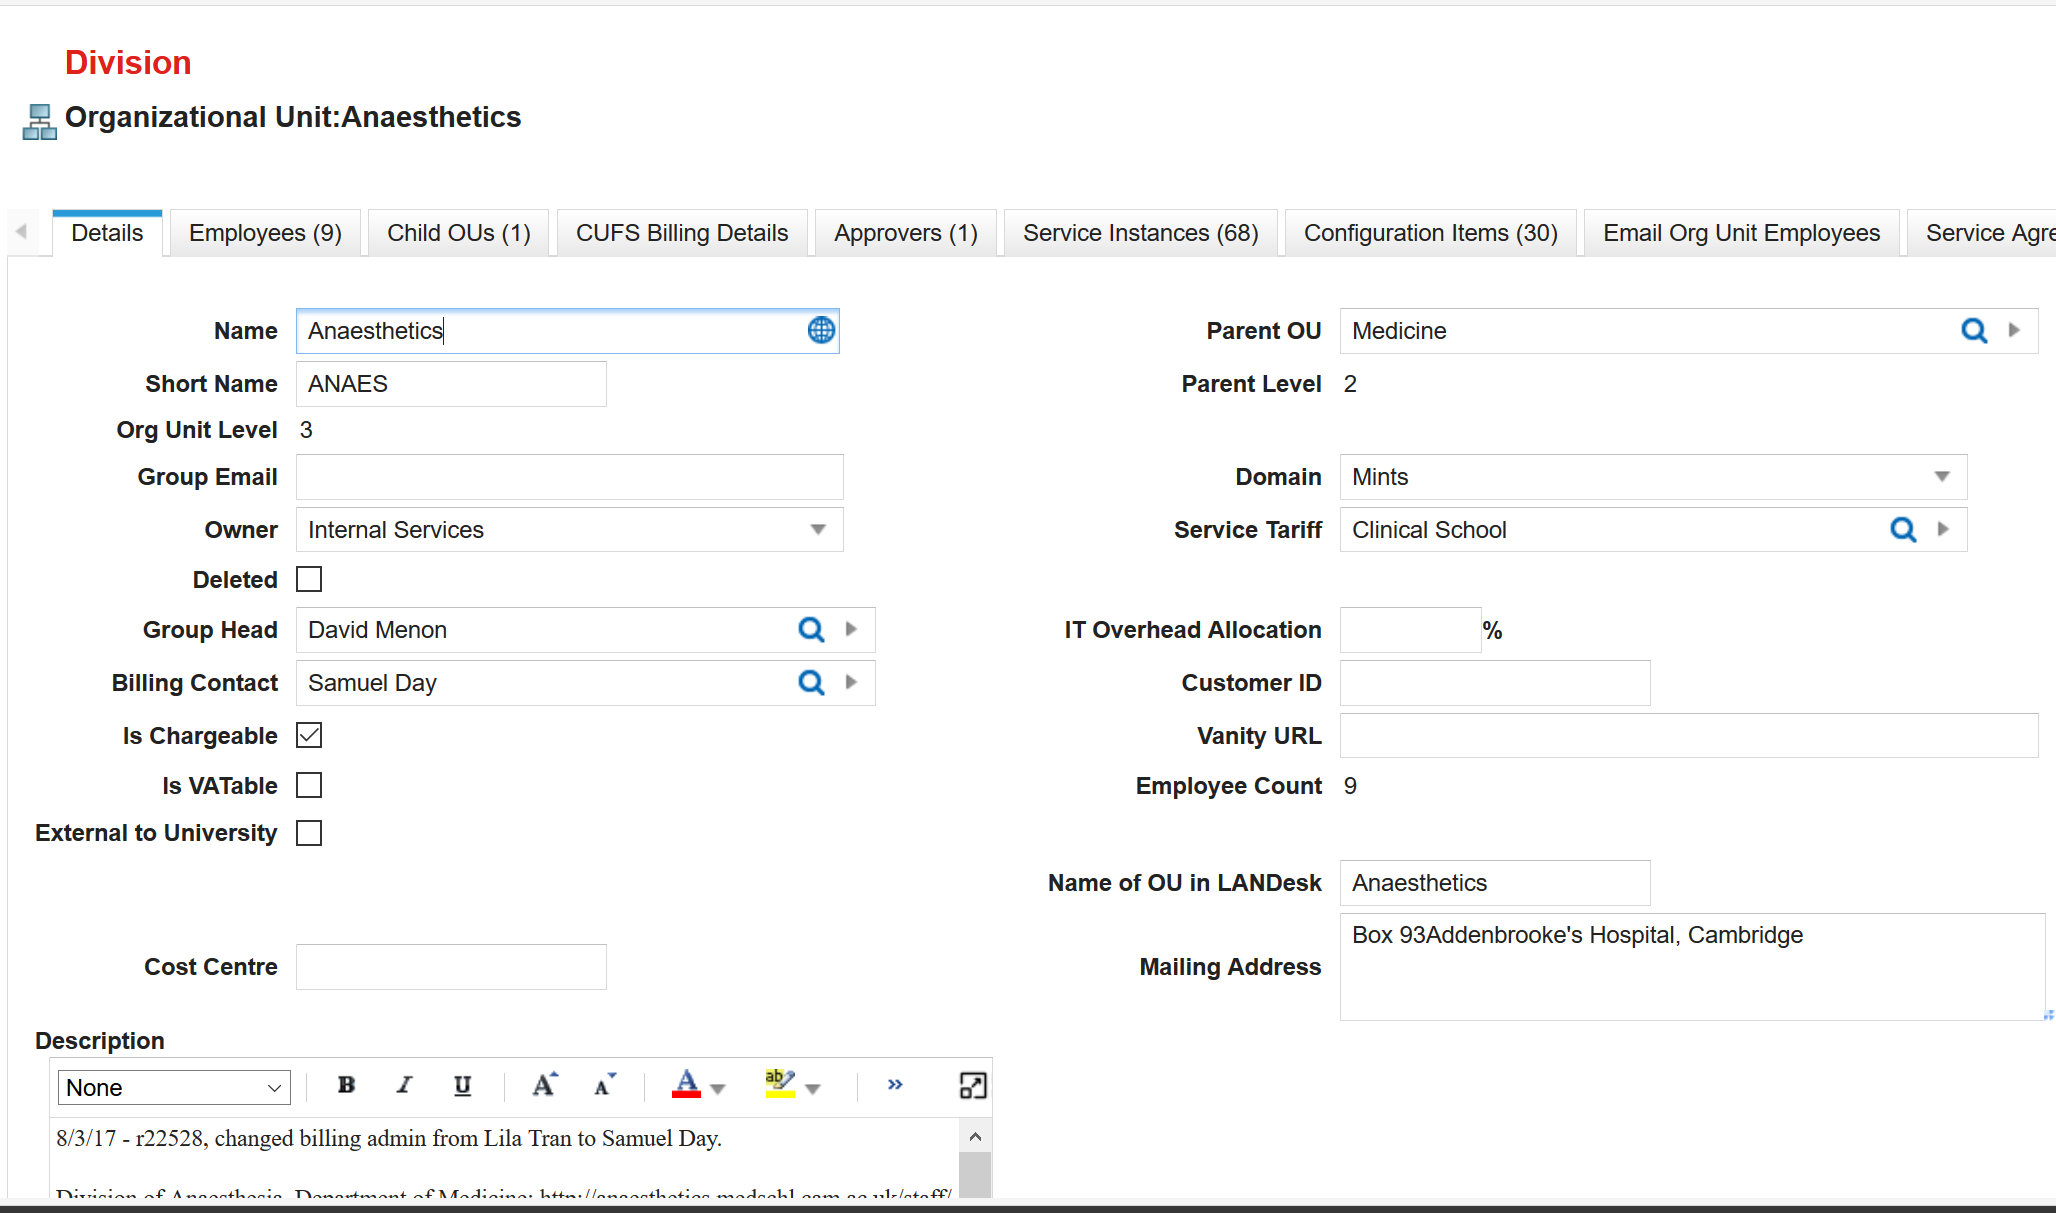
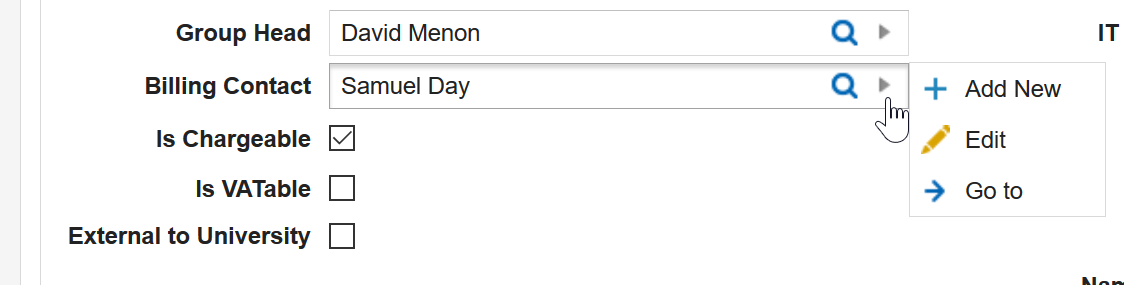
if you go to the Org Unit workspace and choose an Org Unit, you can see all the information we have about it. You may need to refer to this screen to confirm who the billing contact is or the mailing / email address to send something to.
If you need to look up the email address for the Billing Contact, click the little arrow beside the name and a small menu will pop up. Click Go to and it will open up that person's record and you can find their email address there.
There is also a tab called CUFS Billing Details which looks like this:

Using Ivanti to Process Invoices
Here is the meat of what you need to do to process Invoices using the Ivanti ISM system.
- Go to your dashboard and select a task from the Unassigned. Double click it to open up the Task
- You'll see this screen.
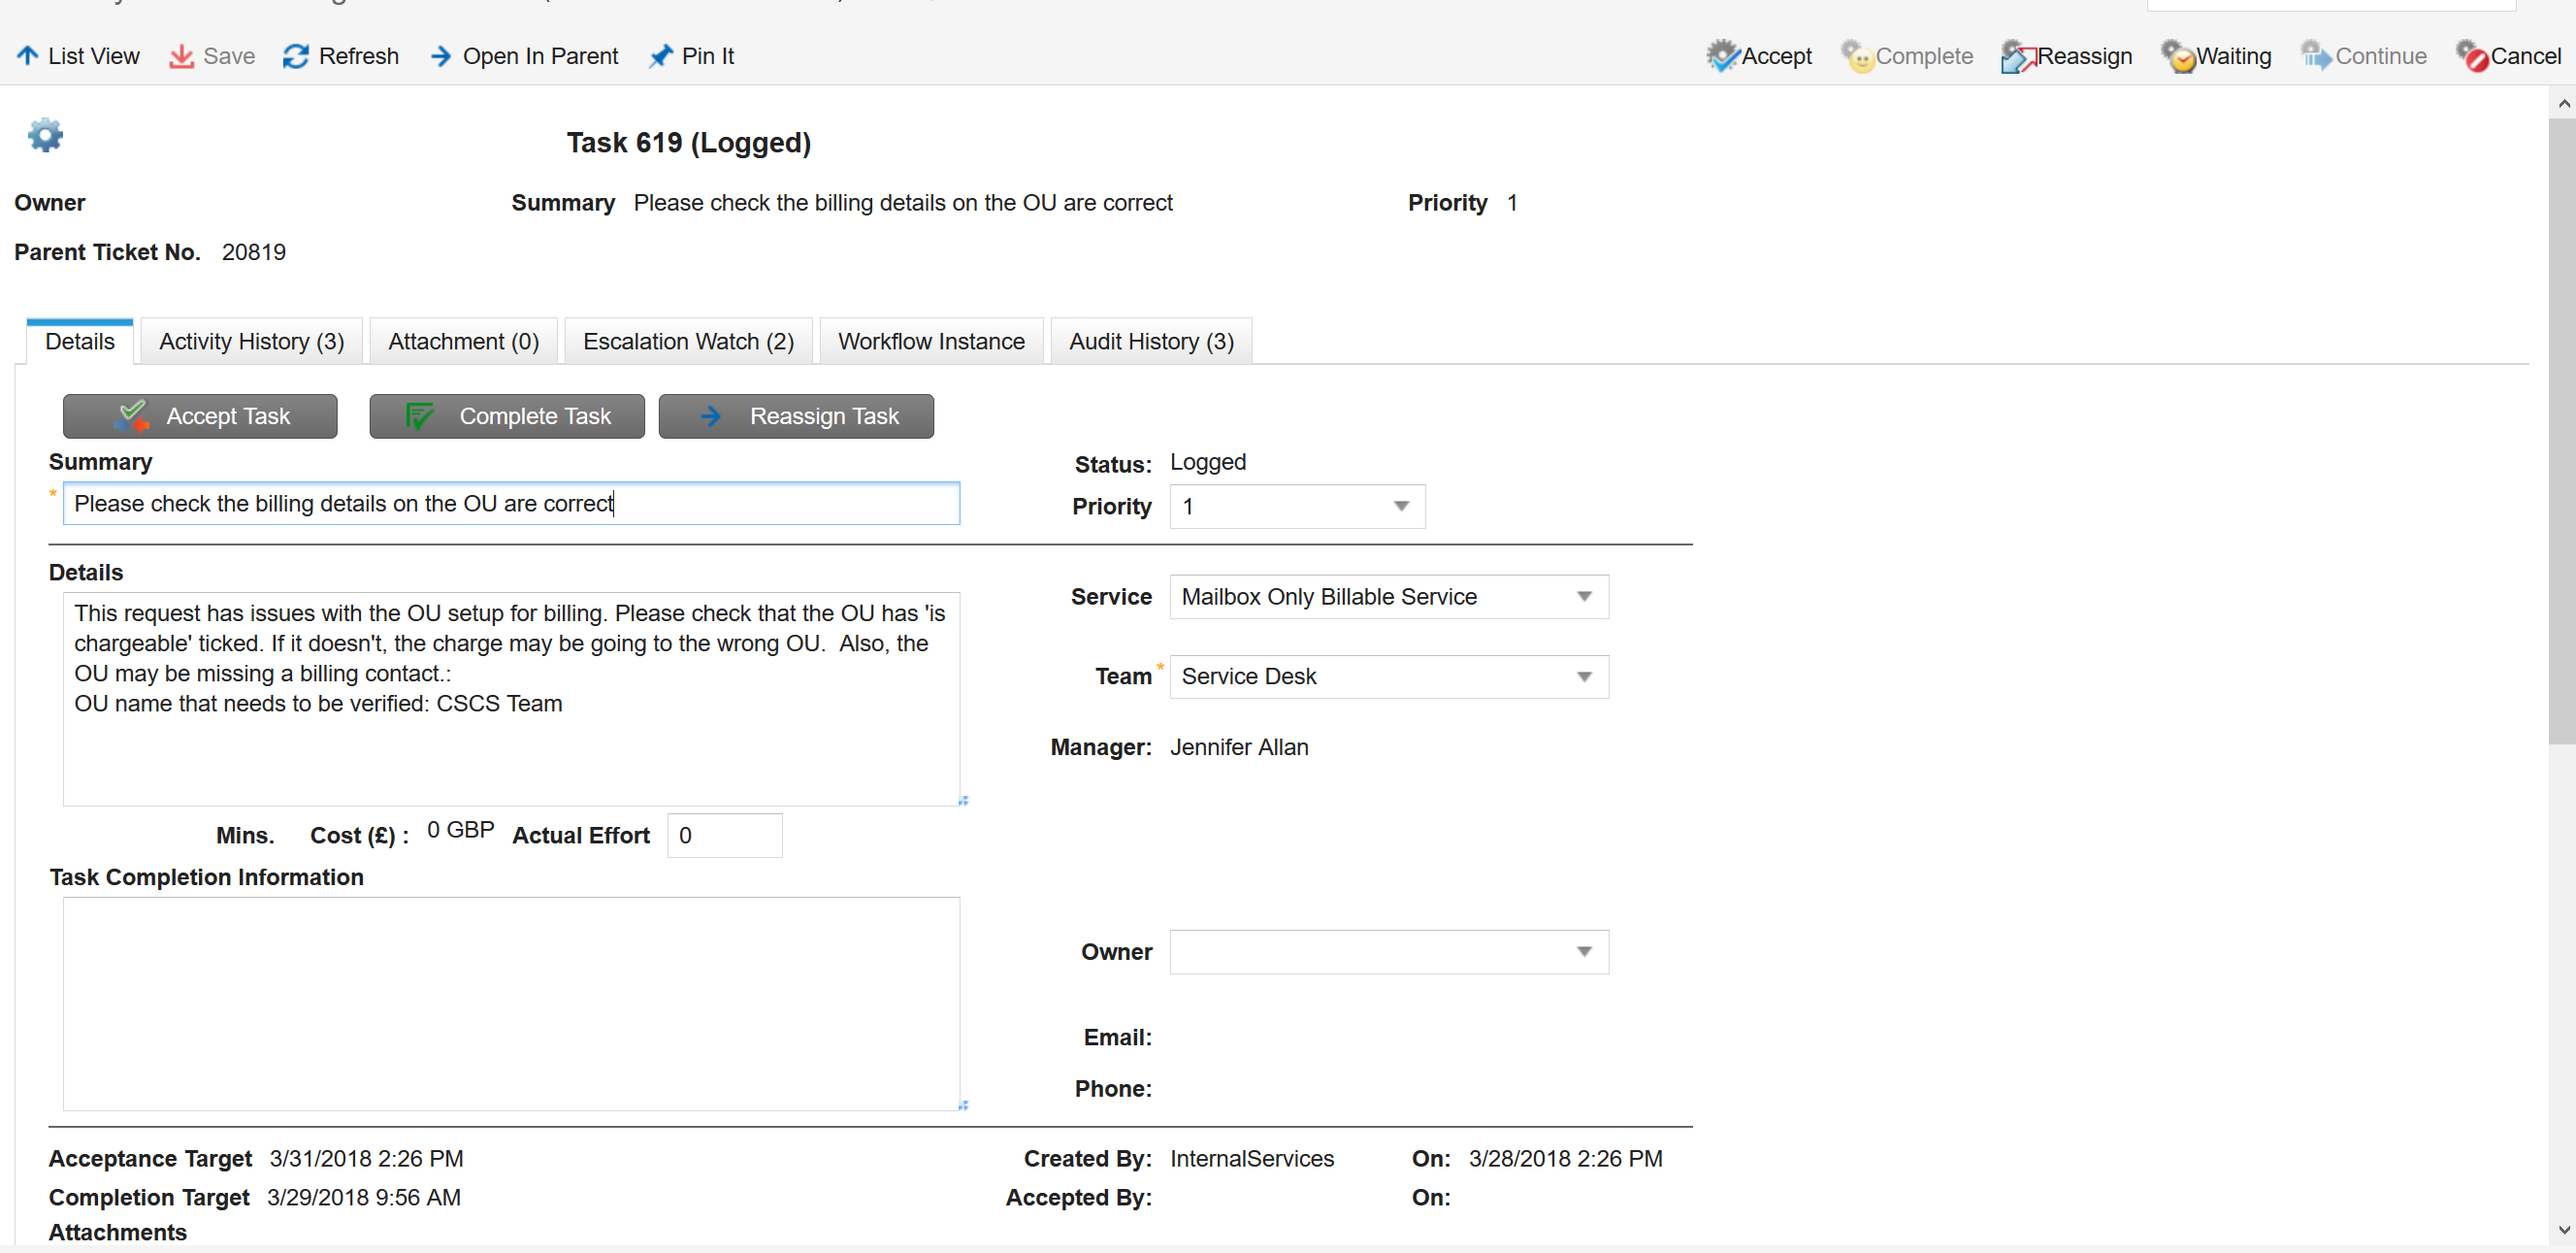
- Click Accept Task to take ownership of the task and start working on it
- You will see some information showing what you are being asked to do in the Details area.
- Click Open in Parent near the top of the page to open the actual request.

- Go to the Purchase Request Details tab. If it isn't there, click the Change to Purchasing button. Sometimes that tab disappears and this will bring it back.
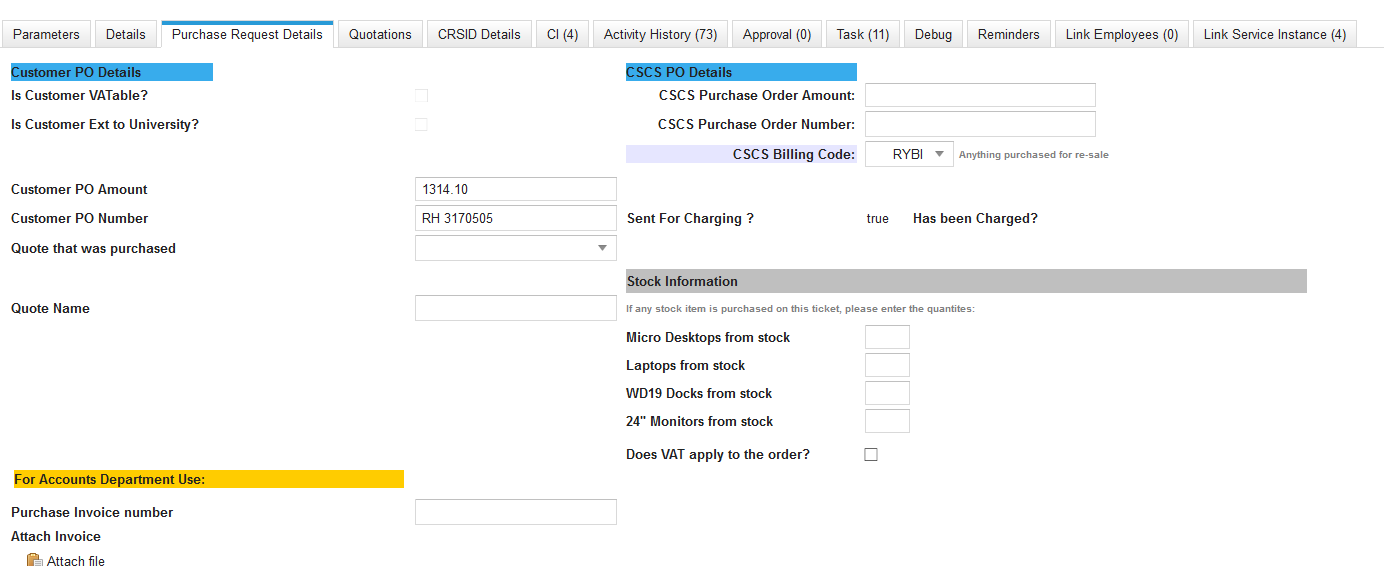
- Create the invoice for the amount in the Customer PO amount referencing the Customer PO number
- You can check what the invoice is for in a few ways:
- Quote purchased field
- On the service request Purchase Request Details tab, look at the Quote that was purchased field. If it has a quote number type that number in the search field on the top right of the screen and find your quote
- look at the details for the quote to determine what is being invoiced
- Details tab
- On the service request Details Tab you may be able to tell what is being purchased by the request name field
- Service request Parameters tab
- on the Parameters tab you may be able to tell from the information provided what is being purchased
- Quote purchased field
- You can check what the invoice is for in a few ways:
- You can see from the Customer and Owner fields at the top of the request what department the purchaser belongs to. However, this may not accurately reflect who is paying for it so better to rely on the purchase order for the department and contact information.
- If you need to look up details in the system regarding the department:
- go to the Org Unit workspace
- search for the group and double click to open up the window to see what details we have
- If you need to look up details in the system regarding the department:
- Fill out the Purchase Invoice number field with the invoice number
- Use the correct GL code as indicated in the CSCS Billing Code field (RYBI, RYBJ, RYBK or RYBN)
- Attach the invoice PDF by clicking Attach file and adding it to the ticket
- Email the invoice to the department (using Outlook)
- Go back to Ivanti and click the Complete Task button on the task
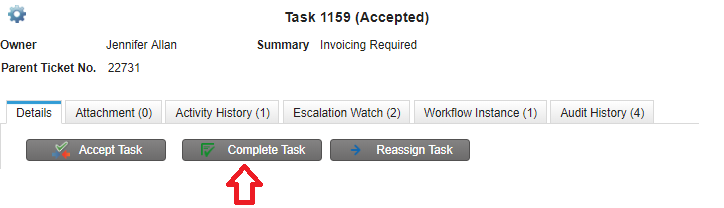
- You will be prompted to enter what you did to resolve the task. Enter something like 'created invoice'
- You will also be prompted to indicate how much time you spent on the task. Estimate the actual number of minutes you spent working on it and enter it. then click OK
- once the task is complete, your work is done and the task will disappear from your dashboard
If you click the Complete Task button before you've completed the invoice, you can't re-open the task to finish it.
Create a new Task by doing the following:
- Go to the Service Request
- Go to the Task tab
- Click New Task and fill out the screen:
- Summary - Second task - invoicing required
- Details - Second task to complete invoicing. First task completed in error.
- Service - leave blank
- Team - select Accounts Team
- Owner - choose your name
- Click Save
You can then complete the task normally.
Groups External to the University
We do sell some things to NHS and a few other other external organisations. Typically you can tell if it is an external purchase based on whether the PO number is a University one or not. You can also tell by looking at the Is Customer VATable and Is Customer External to University. If it is an external purchase there will be information in the task regarding the price quoted, etc.
Questions on tasks:
If you have questions for CSCS about the task or bill to be created:
When you are in the task click Open in Parent
Go to the Details tab and in the Journal section, click the blue Create icon and choose note
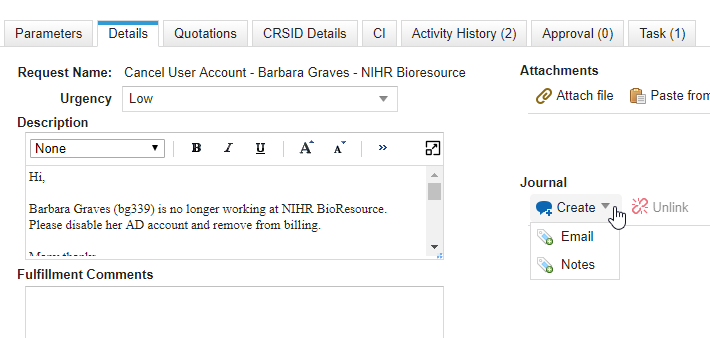
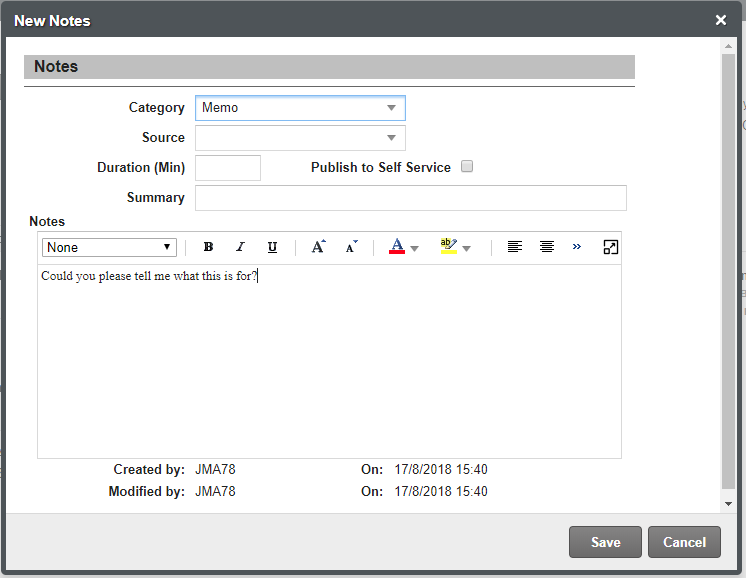
Fill in the Notes summary and notes field with your question and click save. The service desk will then see your question and respond to it. Alternately, you could call 36261 and give us the ticket number and we can advise immediately.
Service Requests
You will only work on Tasks that are contained within Service Requests.
Other Tasks
If you are assigned other tasks, e.g. looking up invoices, they will also appear in your dashboard. The task should provide you all the information you need to complete your task. If it doesn't or you have questions
Service Instances
The basic concept of billing is the Service Instance. A service instance is the item that indicates that we will charge for something - user account, network connect, etc. You can see all of the service instances by going to the Service Instance workspace. You can also see them on an employee or a CI in the Service Instance tab. Finance staff will rarely need this information as it's handled by the billing interface with CUFS but in case you do, here's how to find the information.
How to see if charges apply
To easily see if something has charges we have put some highlights on our lists.
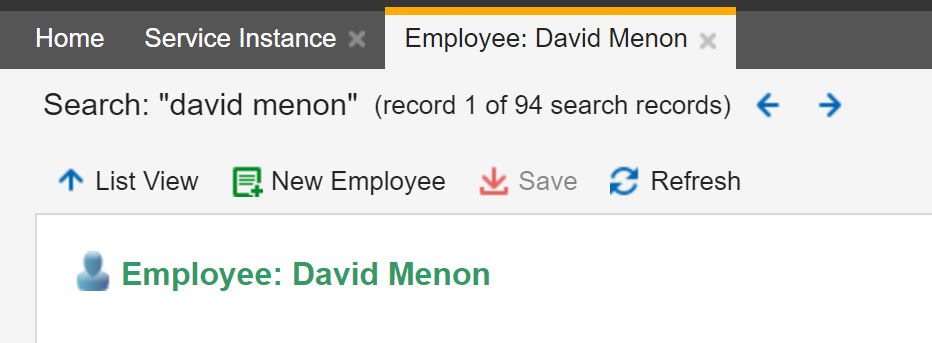
Employees - If an employee is highlighted green - that means it has an associated user account service instance. Here are examples from the Employee and Incident screens.

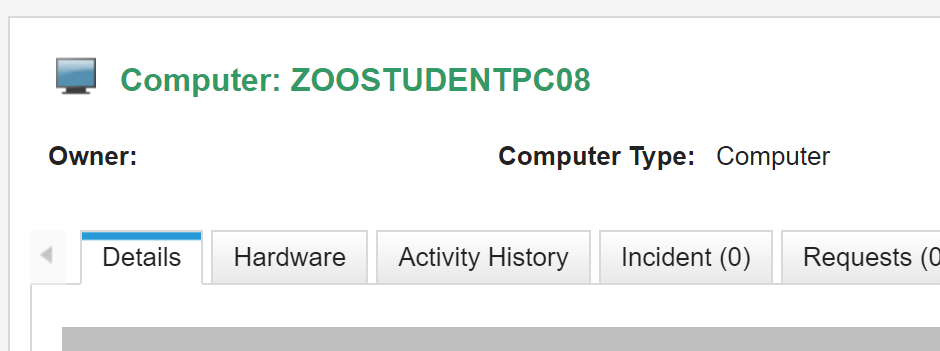
CIs - Computers and servers have several indicators depending on where you are looking. This will show if there is any type of billable service instance.
List of CIs - the ones with service instances are green

When looking at the details of a CI - if the name is green, it has service instances.
Suggest New Features / Changes
Create a service request for yourself using the Ivanti Improvement request offering template with details of what you need / want / suggest.