Guide to Hold & Release Printing in the IMS
- Eike Friedrich (Unlicensed)
- Damien Hallsworth
- Kathy Downham
- Martin Keen
Introduction
In August/September 2018 the four Sharp Multifunction Devices (MFD), or printer/scanner/copiers will be updated from using traditional individual print queues to a single, unified Hold and Release queue.
Hold & Release printing allows you to send a print job to the queue then collect the print from any one of four printers located in IMS Level 4 & 5. The system allows you to send a print job to a single print queue, then approach any enabled printer and use your University or NHS ID card to authenticate and release the print job. The primary benefit of Hold & Release is security, since the print job will not be released until you are at the printer and access the printer with your identity card. Additionally, if you print but find a printer is already in use for a large job, you can easily switch to another. Once logged on to a printer you can easily scan documents to your email address or access the usual copy and scan functions of the multi functional devices.
The Hold & Release functionality is enabled by the PaperCut print management system, and this replaces the standard Sharp user interface on the printers. This guide is intended to show you how to connect to and use the PaperCut system to release print jobs, and to perform other copy and scan functions.
Requirements
In order to be able to use these printers at IMS you will need:
- A CSCS User Account (also known as a MINTS account), associated with IMS. If you require one, you can apply using the online form.
- A CSCS-supported computer connected to the Clinical School wired network and MINTS domain. If you don't have access then you can apply online.
- Please note that as printers are connected to the internal network, external guest networks such as Eduroam or UniofCam do not have the required access without use of a CSCS VPN (Virtual Private Network)
- The Hold & Release print queue installed, you can follow the instructions to check if the IMS Hold & Release print queue is installed on your computer
- It is also recommended to have an ID card (University and NHS cards are currently supported) to make logging into printers much simpler
Instructions
How to Log On to the Hold & Release printers
The printers their locations and capabilities are documented in the separate page IMS Hold & Release Printer capabilities. If someone is already using your first choice of printer then you can release the job on any of the other 3 devices instead. If your print job has been sent with specific folding, stapling or colour requirements then make sure the printer you choose to release the job supports those requirements. A colour print job released on a Black & White printer will, for instance, be printed in black & white.
- Approach any Sharp Multi Function Device in IMS.
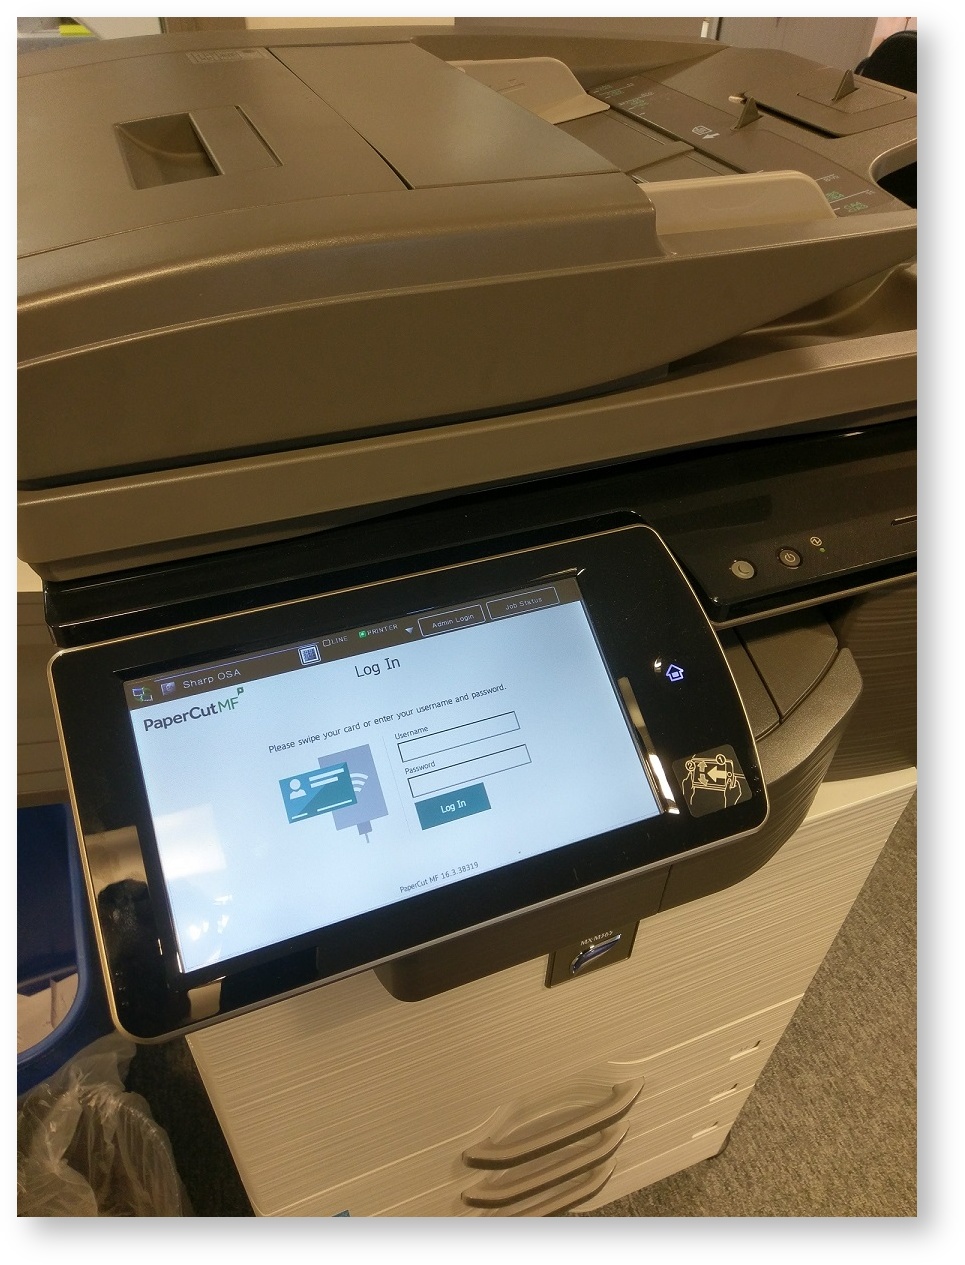
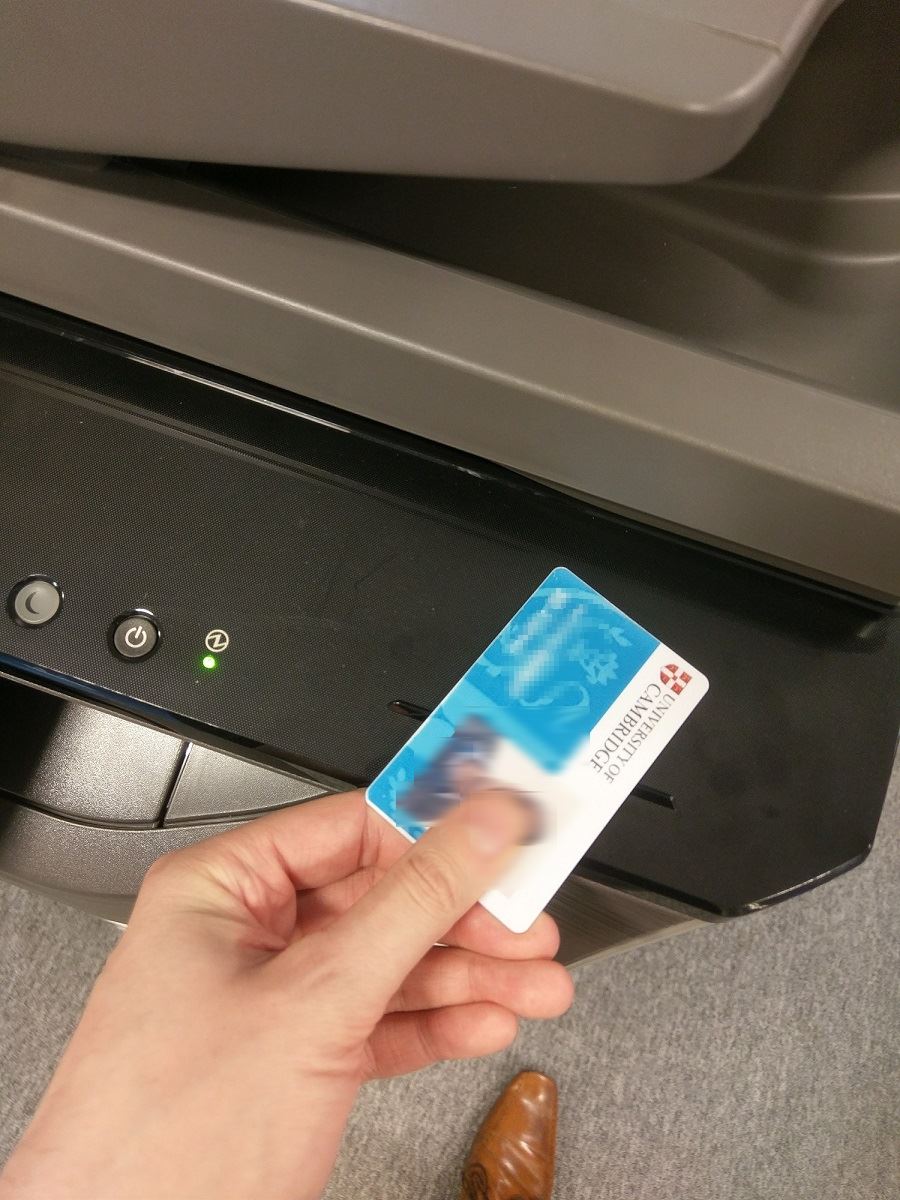
Scan your ID Card to authenticate to the printer, there are red and white labels on each printer identifying the location to hold your card.
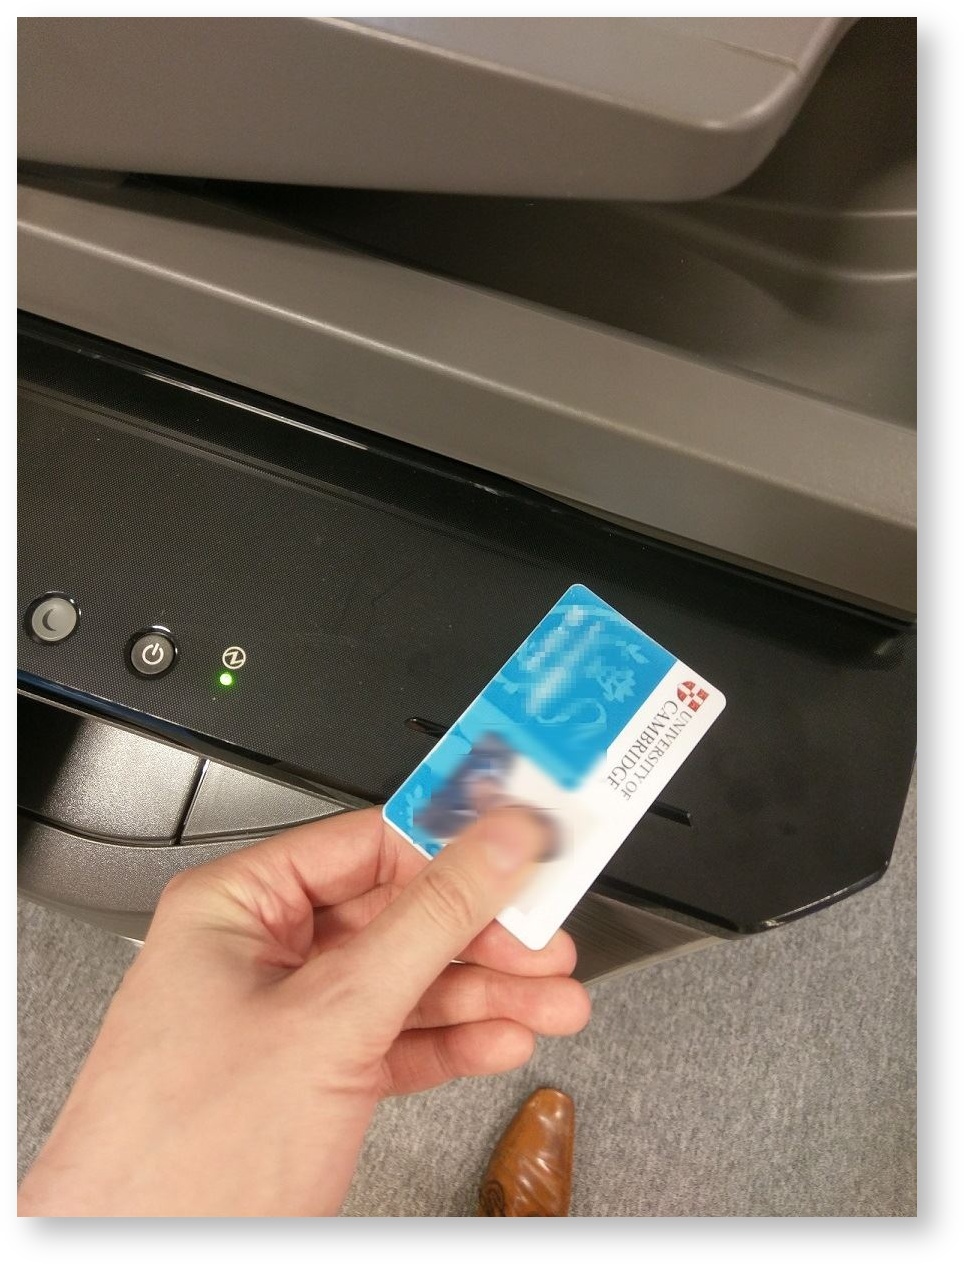
- For your convenience your University card is automatically associated with your account and will log you in immediately.
- You can optionally associate a second card with your account; for instance an NHS ID card. In fact many cards with RFID chips can be used, but we recommend using either University or NHS cards, as you should always have one of these on you.
- To register a new card, hold it at the printer as above. If the card is compatible, you will be prompted to associate your ID Card to your CSCS user (MINTS) account. Enter your MINTS username and password into the relevant boxes and press Set. You will then be informed of success and prompted to log in again - scan the card again to complete the process.

- This card will now log you on immediately.
- If you scan another unknown card, this will replace the one previously registered manually as above. It is not possible to overwrite your University card as this is provided as a data feed by the University.
- To register a new card, hold it at the printer as above. If the card is compatible, you will be prompted to associate your ID Card to your CSCS user (MINTS) account. Enter your MINTS username and password into the relevant boxes and press Set. You will then be informed of success and prompted to log in again - scan the card again to complete the process.
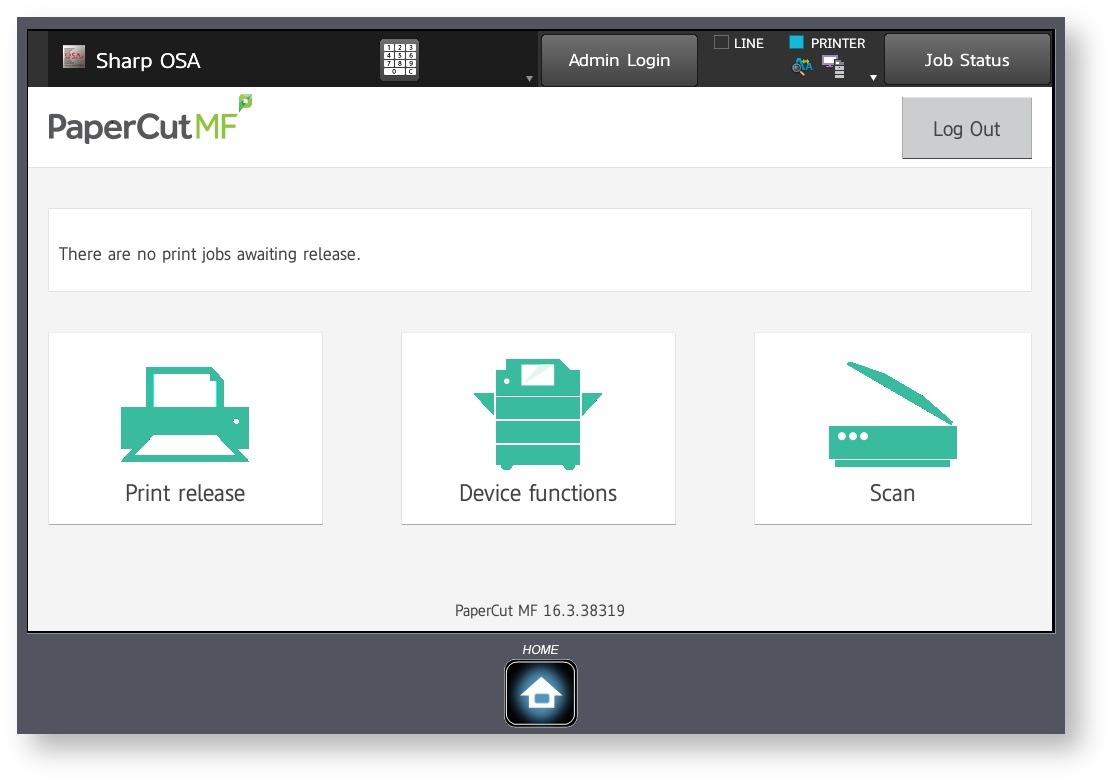
- Once logged in to the device you will be shown the main PaperCut menu, with the various options available to you. The operation of these three functions is described in more detail below. Once you have finished using a printer, tap the Log Out button at top right. If you forget to do this, then the printer will automatically log you out after a short time.
- You can now easily log on to the printers using your ID card
- If you do have left your ID card at your desk, you can always log in to the printers by typing your MINTS credentials in at the printer, although it is considerably easier to scan a card than type on the touchscreen.
How to Release a Print
- Having sent a print job to the print queue, log on to a Hold & Release printer as described above
- Once logged in to the device, you will be shown the main PaperCut menu, with the various options available to you. In this case select 'Print Release'.
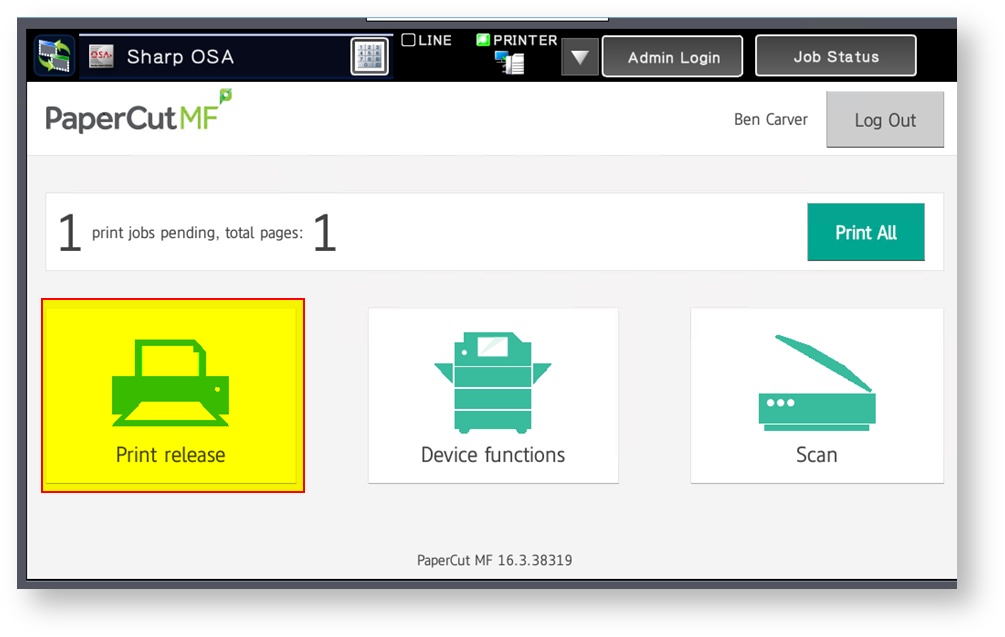
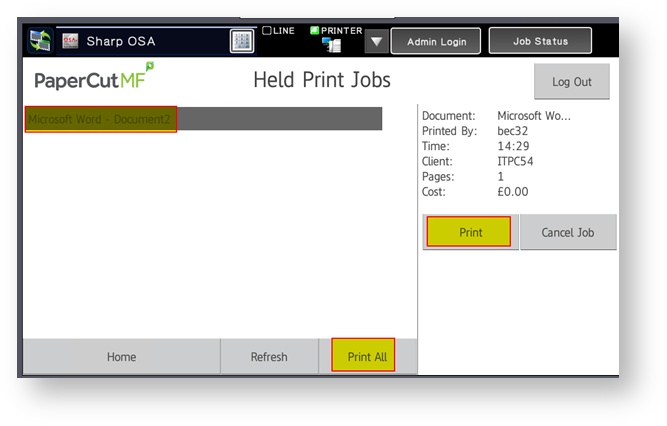
- A list of print jobs will be shown on the screen. If you have multiple jobs pending there will be a longer list. Tap to select the print job you wish to release and then select Print on the right-hand side. Alternatively, if you wish to print off all jobs then use the Print All option. It is also possible to cancel jobs if you wish, however they will time out and expire after 8 hours if you choose to not print them, which will remove them from the list automatically.
- Your print job(s) will be released on this printer, which should print them out in a few moments.
- When finished, log out using the button at the top-right of the screen. If you forget, you will be timed out after a few minutes of inactivity.

How to use Scan to Email
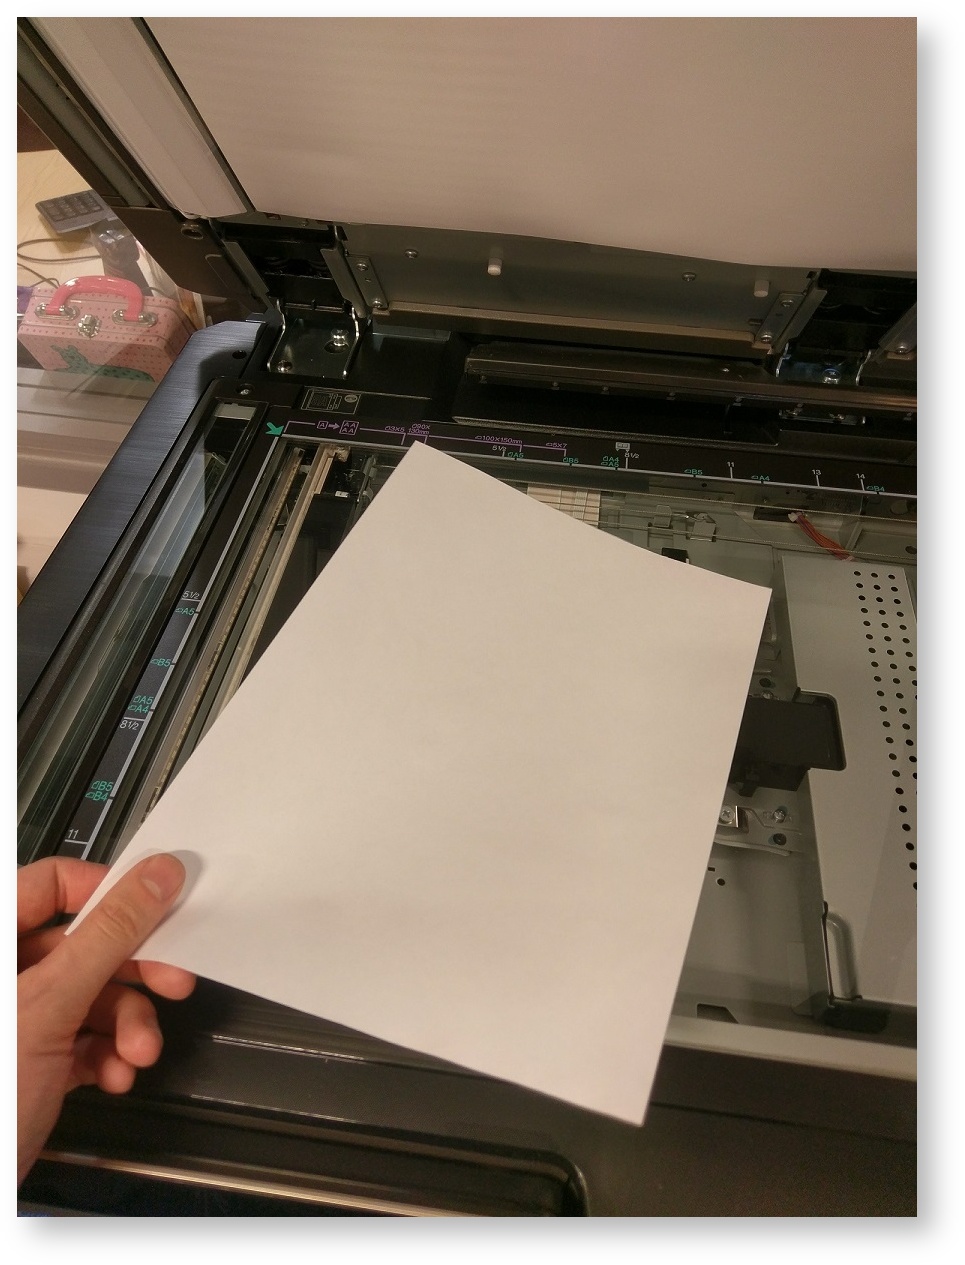
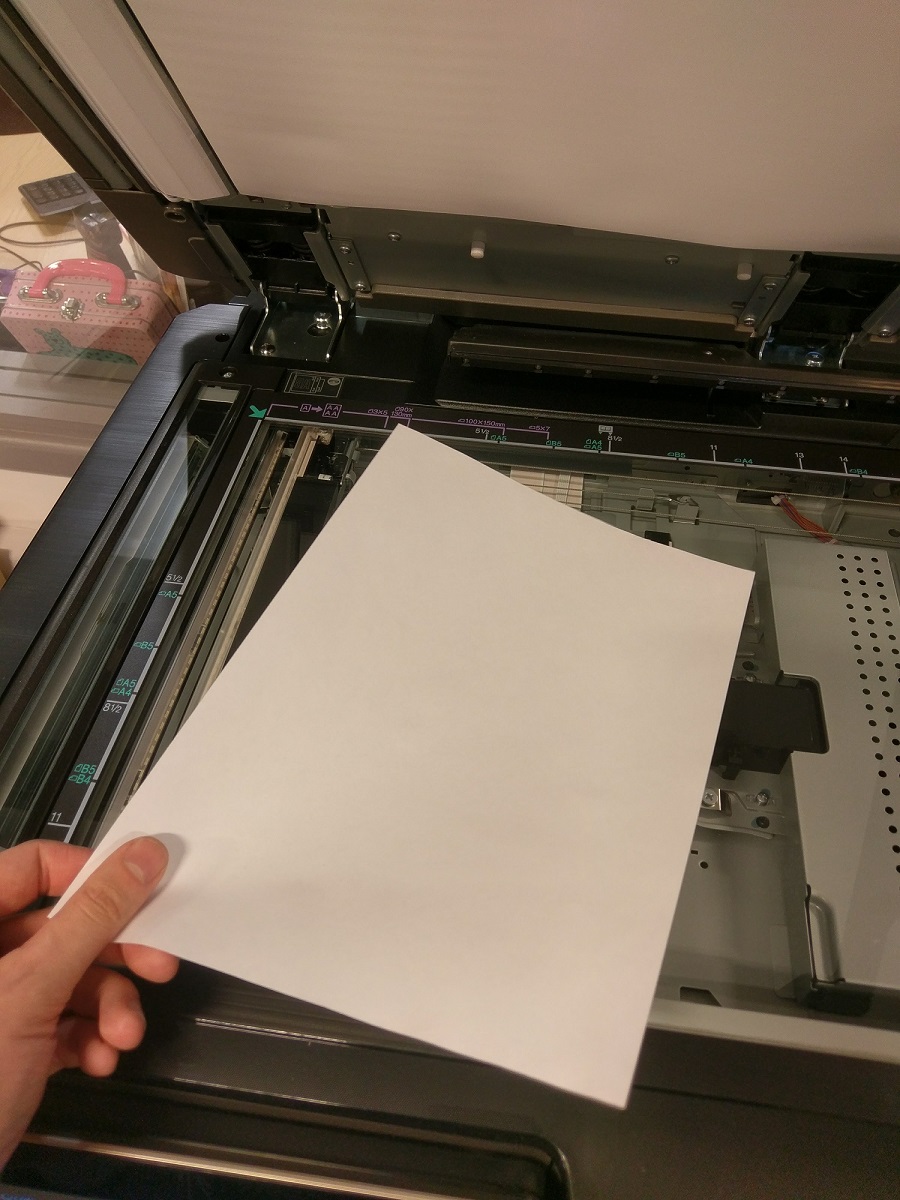
- Take the document you wish to scan to the Papercut-enabled MFD
- Scan your ID Card to authenticate to the printer.
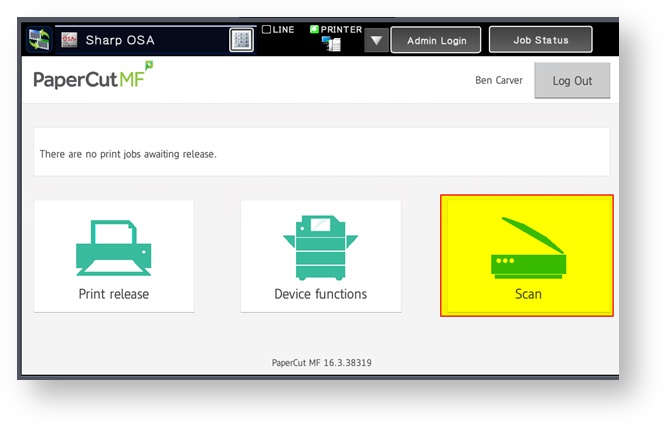
- You will see the PaperCut menu screen, select 'Scan' to access the scanning options.
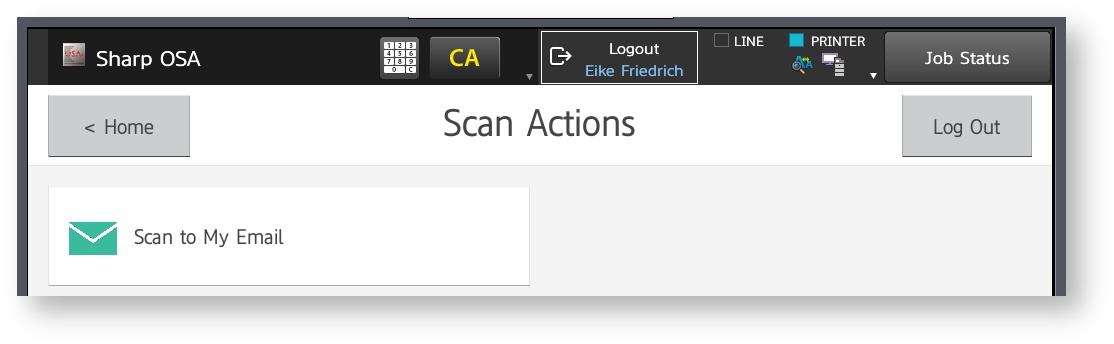
- Scan to email is the only option available here, tap to select it
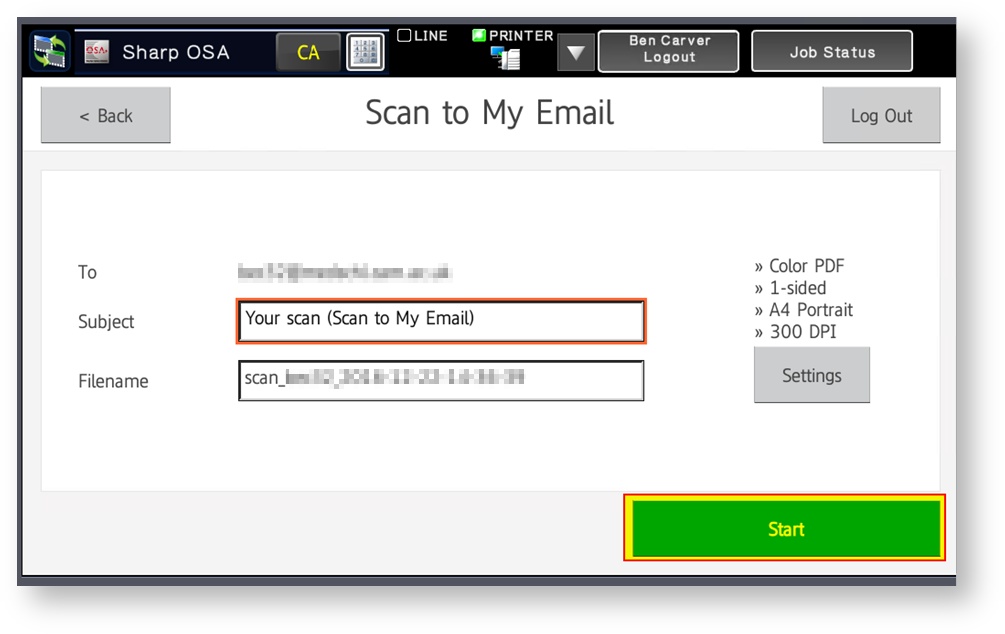
- The scan to email screen will show your email address (based on who is logged in to the printer), a subject line and filename. The subject and filename can be amended if you wish, along with the scan settings. When you are happy to proceed, press 'Start'.
- The scan will be processed and emailed to you.
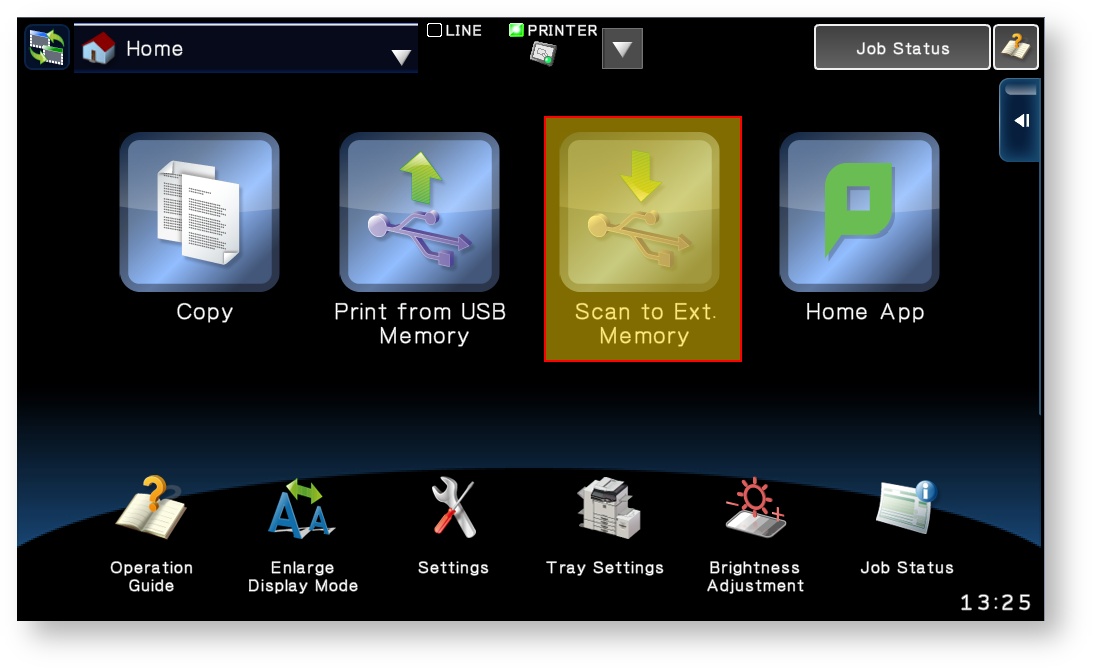
- If you wish to scan to a USB storage device instead, then at the PaperCut menu screen select Device functions and a Scan to Ext. Memory option will be present
- When finished, log out using the button at the top-right of the screen. If you forget, you will be timed out after a few minutes of inactivity.
How to use Copier functions on a Papercut-enabled MFD
- Take the document you wish to scan to the Papercut-enabled MFD
- Scan your ID Card to authenticate to the printer.
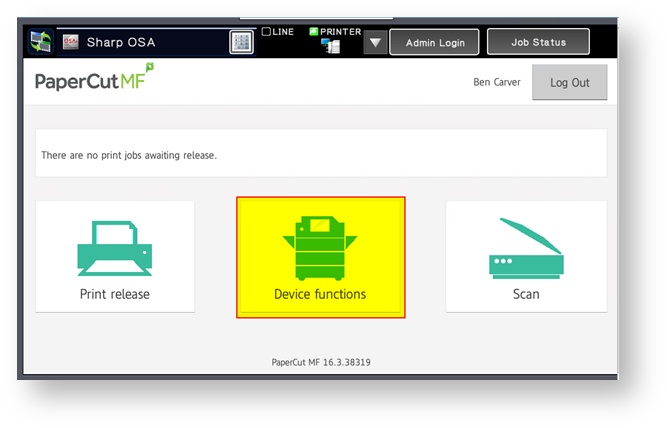
- You will be shown the Papercut main menu screen. For copying functions select 'Device functions'.
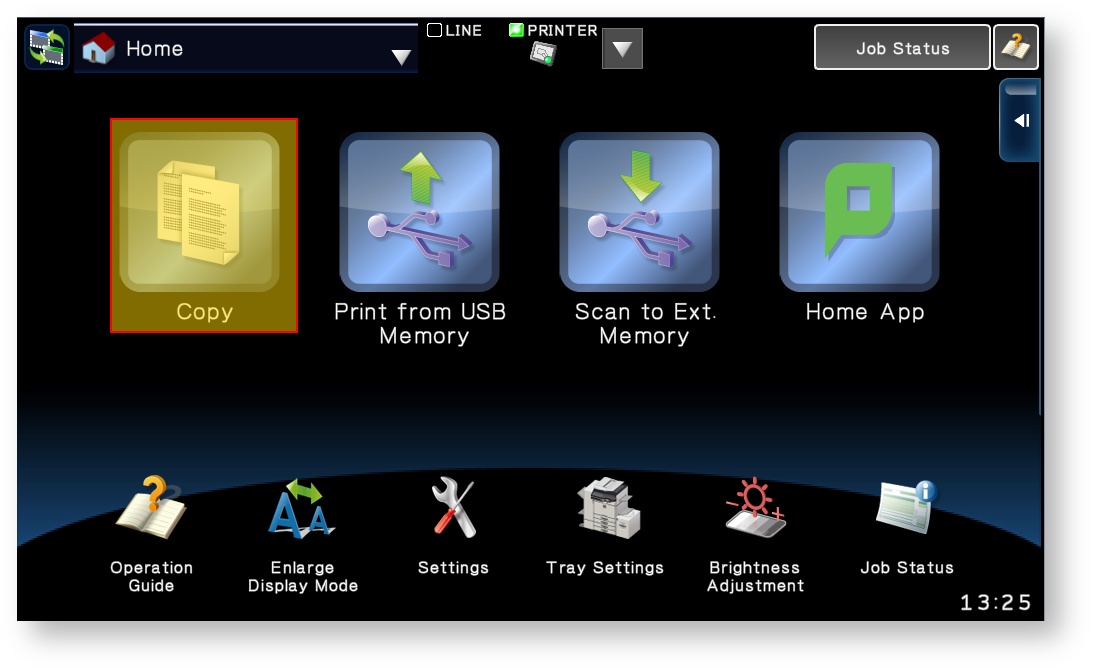
- This will load the MFD's built-in menu in order to access copying. Each MFD will look a little different, but you should be able to access a copying function from here.
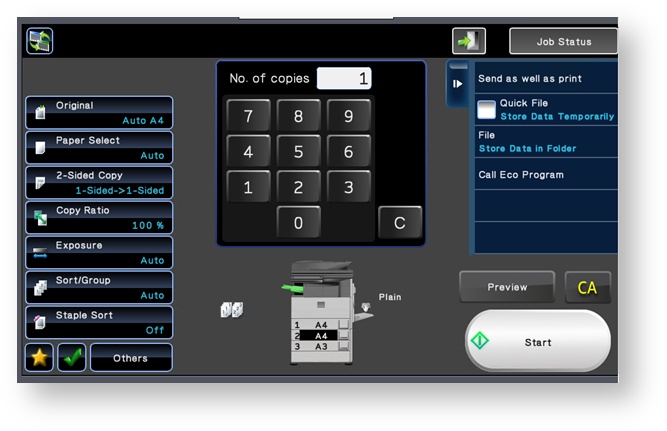
- Perform your photocopy as required.
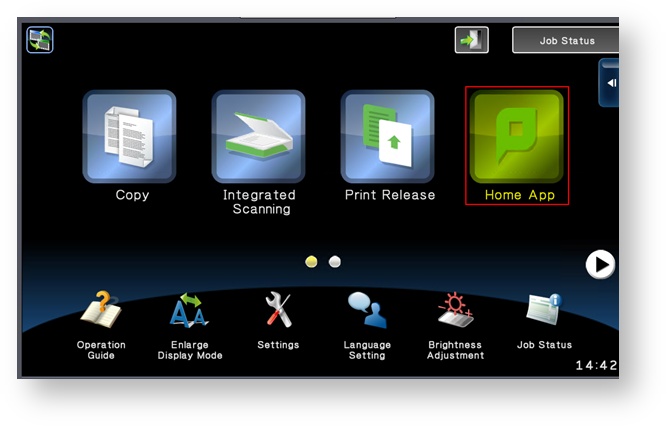
- When finished, go back to the main menu, normally using a 'Home' button on the screen or on the MFD itself. When there, press the 'Home App' button to return to the Papercut main menu.
- Log out using the button at the top-right of the screen. If you forget, you will be timed out after a few minutes of inactivity.