/
Adding a printer to Windows 10
Adding a printer to Windows 10
- Jordi Sol
- Jennifer Allan
- Martin Keen
Owned by Jordi Sol
Please note - users in the Heart Lung Research Institute (HLRI) should use Method #2 for connecting to HLRIPR03 and 04, as these are currently not listed in the Print Directory.
Requirements
- You must be connected to the wired network, or the Medschl VPN if you are using Wi-Fi.
Method 1 - For CSCS Supported Desktops - Search via Print Directory
- Firstly, find the name of the printer you want to add – it should be labelled by a white sticker on the device. in the format of xxPR01 If you are not sure about the name, ask a colleague.
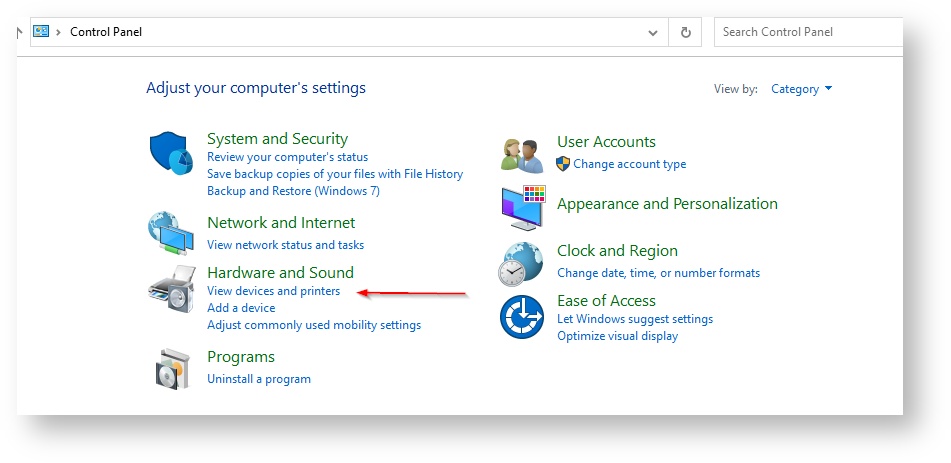
- Click on the Start Menu, and type "Control Panel" to search for it, and then click on the result. In Control Panel click on 'View Devices and Printers'
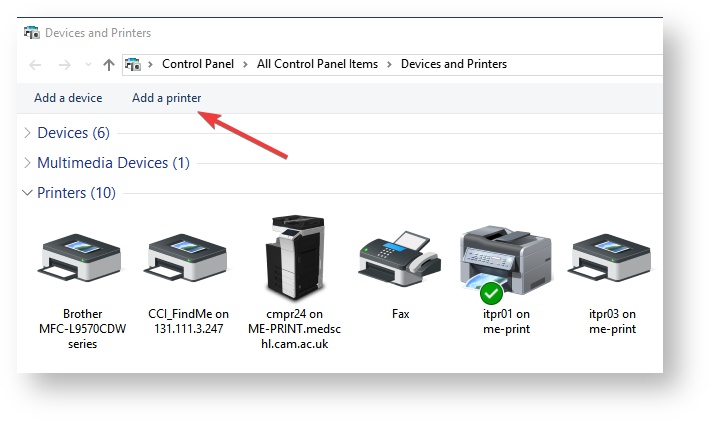
- Click on 'Add a Printer' near the top of the window.
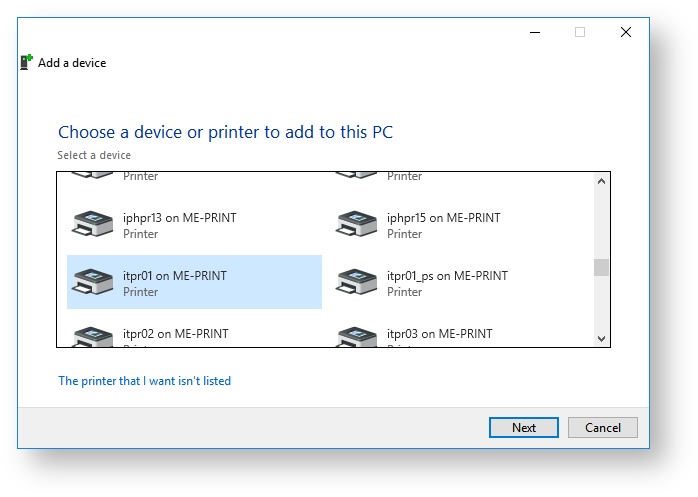
- A list of printers should appear, it may take a moment.
- Select the printer you want to add and click Next.
Method 2 - For CSCS Supported Laptops & Desktops - Add Manually by Name
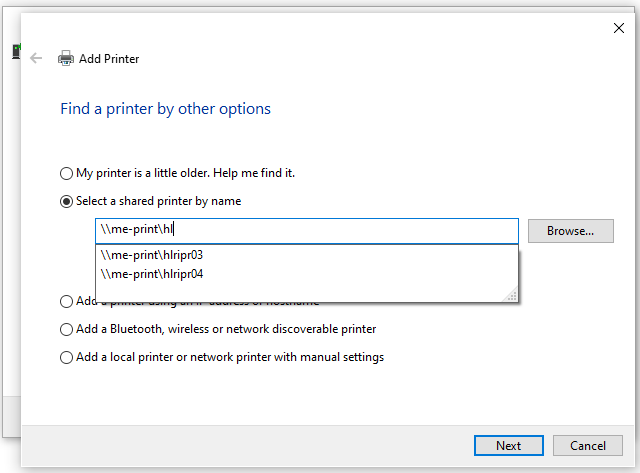
- If you can't find the printer on the list or the list was blank, click on the 'The printer that I want isn't listed' button.
- Select the radio button labelled 'Select a shared printer by name'
- Enter the CSCS print server name followed by the name of the printer, printers matching what you type will appear and you can select the correct one like in the screenshot below
- Printer server name: \\me-print\ (for medschl printers)
- Printer server name: \\bio-print\ (for Zoology printers)
- Click the Next button. The printer driver software will then be installed.
- Click the Next button again.
- If you want this to be your default printer, make sure that the 'Set as the default printer' checkbox is checked.
- Print a test page and then click Finish.
- If your printer has a user code or secure code that you need to input follow these instructions Print Tracking and Printer Secure Codes
Related content
Adding a Network Printer to a Computer with Network Connection Only Service
Adding a Network Printer to a Computer with Network Connection Only Service
More like this
Printing directly to a printer (Windows)
Printing directly to a printer (Windows)
More like this
Adding a printer to Windows 7
Adding a printer to Windows 7
More like this
Adding a printer on a Mac
Adding a printer on a Mac
More like this