Joining your existing device
- Matthew Frayling Cork (Unlicensed)
- Greg Jennings
- Gareth Pullen (Unlicensed)
Introduction
You should have been provided this link because you have an existing Windows computer that will be joined via CSCS remote setup. This guide will take you through all the steps to get your computer set up.
Requirements
Internet connection of at least 10Mb/s (please see Home Networking and Connection Issues for recommendations)
Ethernet cable to connect the computer directly to your internet router (preferred) or the name of your WiFi and the password to connect.
If a desktop computer you'll also need a monitor, mouse and keyboard.
For a 10Mb/s internet connection the download & setup time is approximately 2 hours. On a 100Mb/s connection it is approximately 60-90 minutes. (The speed to set up will also be affected by the speed and age of your device.)
Instructions
- Please ensure the device is connected to the mains power supply.
- You will have been issued with the 2 files - the PPKG file and a "cat" file - along with a password for the PPKG.
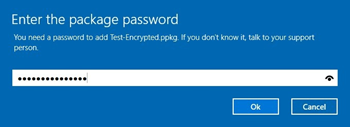
- Double-click on the PPKG file
- Enter the password (CSCS-PPKG.ppk) when prompted:
- Accept the prompt asking if it is from a Trusted Source:
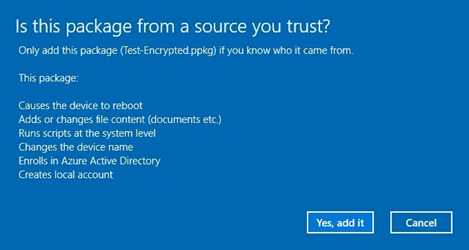
- After a few minutes (depending on the performance of the system - after applications are installed) you will see a message pop up warning you that you'll be logged out in 1 minute. After 1-2 minutes the system will reboot.
- The device now needs to synchronise various settings, including the login options.
- Please be patient once the device reboots. Dependent on the age of your device and internet speed it can take anywhere from 1-3 hrs for the device to download all of the new applications and policies.
- During this time the following will happen:
- Basic computer set up
- Windows settings & security settings such as the Firewall, logon settings, BitLocker encryption
Software will be downloaded & installed:
- During this time the following will happen:
- You can login with your email address before the background changes to the DNA Lockscreen. Once you see 'Sign in to:' under the password prompt you can just enter your CRSID and CSCS password.
Microsoft Office and Microsoft Teams
Please note some programs might take a few hours to download and not appear when you first login to your deviceThis is known behaviour for MS Office 365 and MS Teams - Once they appear please sign into both programs using your using your "<crsid>@cam.ac.uk" email address and Raven password.
- When the setup is complete, you will need to restart the PC (this is required as some of the software requires a reboot to finish setting up - Sophos Anti-Virus and MS Teams)
After approx 2 hours please reboot the device.
- MS Teams will not become visible after installation until you have signed out of the account and back in. Please complete this now. If still not visible after this contact the CSCS Service Desk.
- What you should do next
- Log into the Computer using your normal "crsid" and CSCS password. If the PC has not finished synchronising (or you are using a Zoology / Biosci account) you may need to enter your email address as the username the first time.
Log into One drive using your "<crsid>@cam.ac.uk" email address and Raven password.
Note: Once you sign in to OneDrive your "Documents", "Desktop" and "Pictures" folders will redirect to OneDrive (any existing files will be uploaded automatically)- Click on the OneDrive icon by the clock (you may need to click the "up arrow" to show the icon):
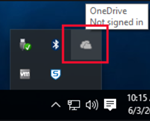
- A small window will pop up, click on "Sign in":
- You will then get a popup box asking for your email address - please enter your "<crsid>@cam.ac.uk" email address and click "Sign in". You will then be taken to the University of Cambridge branded login page:
- Enter your Raven password and click "Sign in"
- The OneDrive icon will then change to become blue, indicating it has signed in:

You should also see the notification pop in from the edge of the screen.
- Open Explorer - by clicking on the Folder icon on the desktop, or by pressing the Windows key and E together.
- You should see "OneDrive - University of Cambridge" listed on the left:
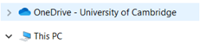
- Expand this by clicking the arrow beside it, and you should see at least the folders "Desktop" and "Documents" listed.
- Create a file on your Desktop - right-click on a blank space of the Desktop and choose "New > Text Document" you can give it a name or leave it as "New Text Document". It should briefly show two blue arrows in a circle, indicating it it being Synchronised to OneDrive, before then getting a green-tick indicating it has been uploaded:
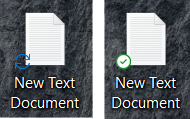
Synchronising Synchronised - Go to the "Documents" folder in Explorer, and repeat the process - the file should get the blue arrows in the "Status" column initially, before changing to a green-tick:


- If you had anything in your University of Cambridge OneDrive you should see it listed in the OneDrive folders.
- Click on the OneDrive icon by the clock (you may need to click the "up arrow" to show the icon):
- Launch the "Company Portal" application (search the Start menu for "Company Portal"):

If prompted, select the correct category (Medschool or Zoology) and click Done (If you are not prompted then this may have been pre-set):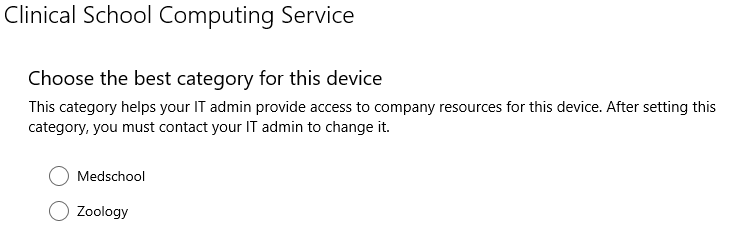
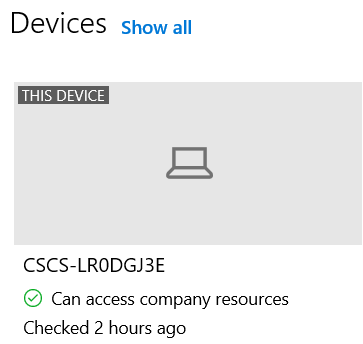
Please note: When you first open the Company Portal App (or if your device has not been switched on for 4+ days) you may be present with a screen which says in red "Can't access company resources". This is simply as the device is still applying our security policies or checking in with the service and is nothing to be concerned about. After about 20-30 minutes of the device being on this page should go green and advise that company resources are accessible.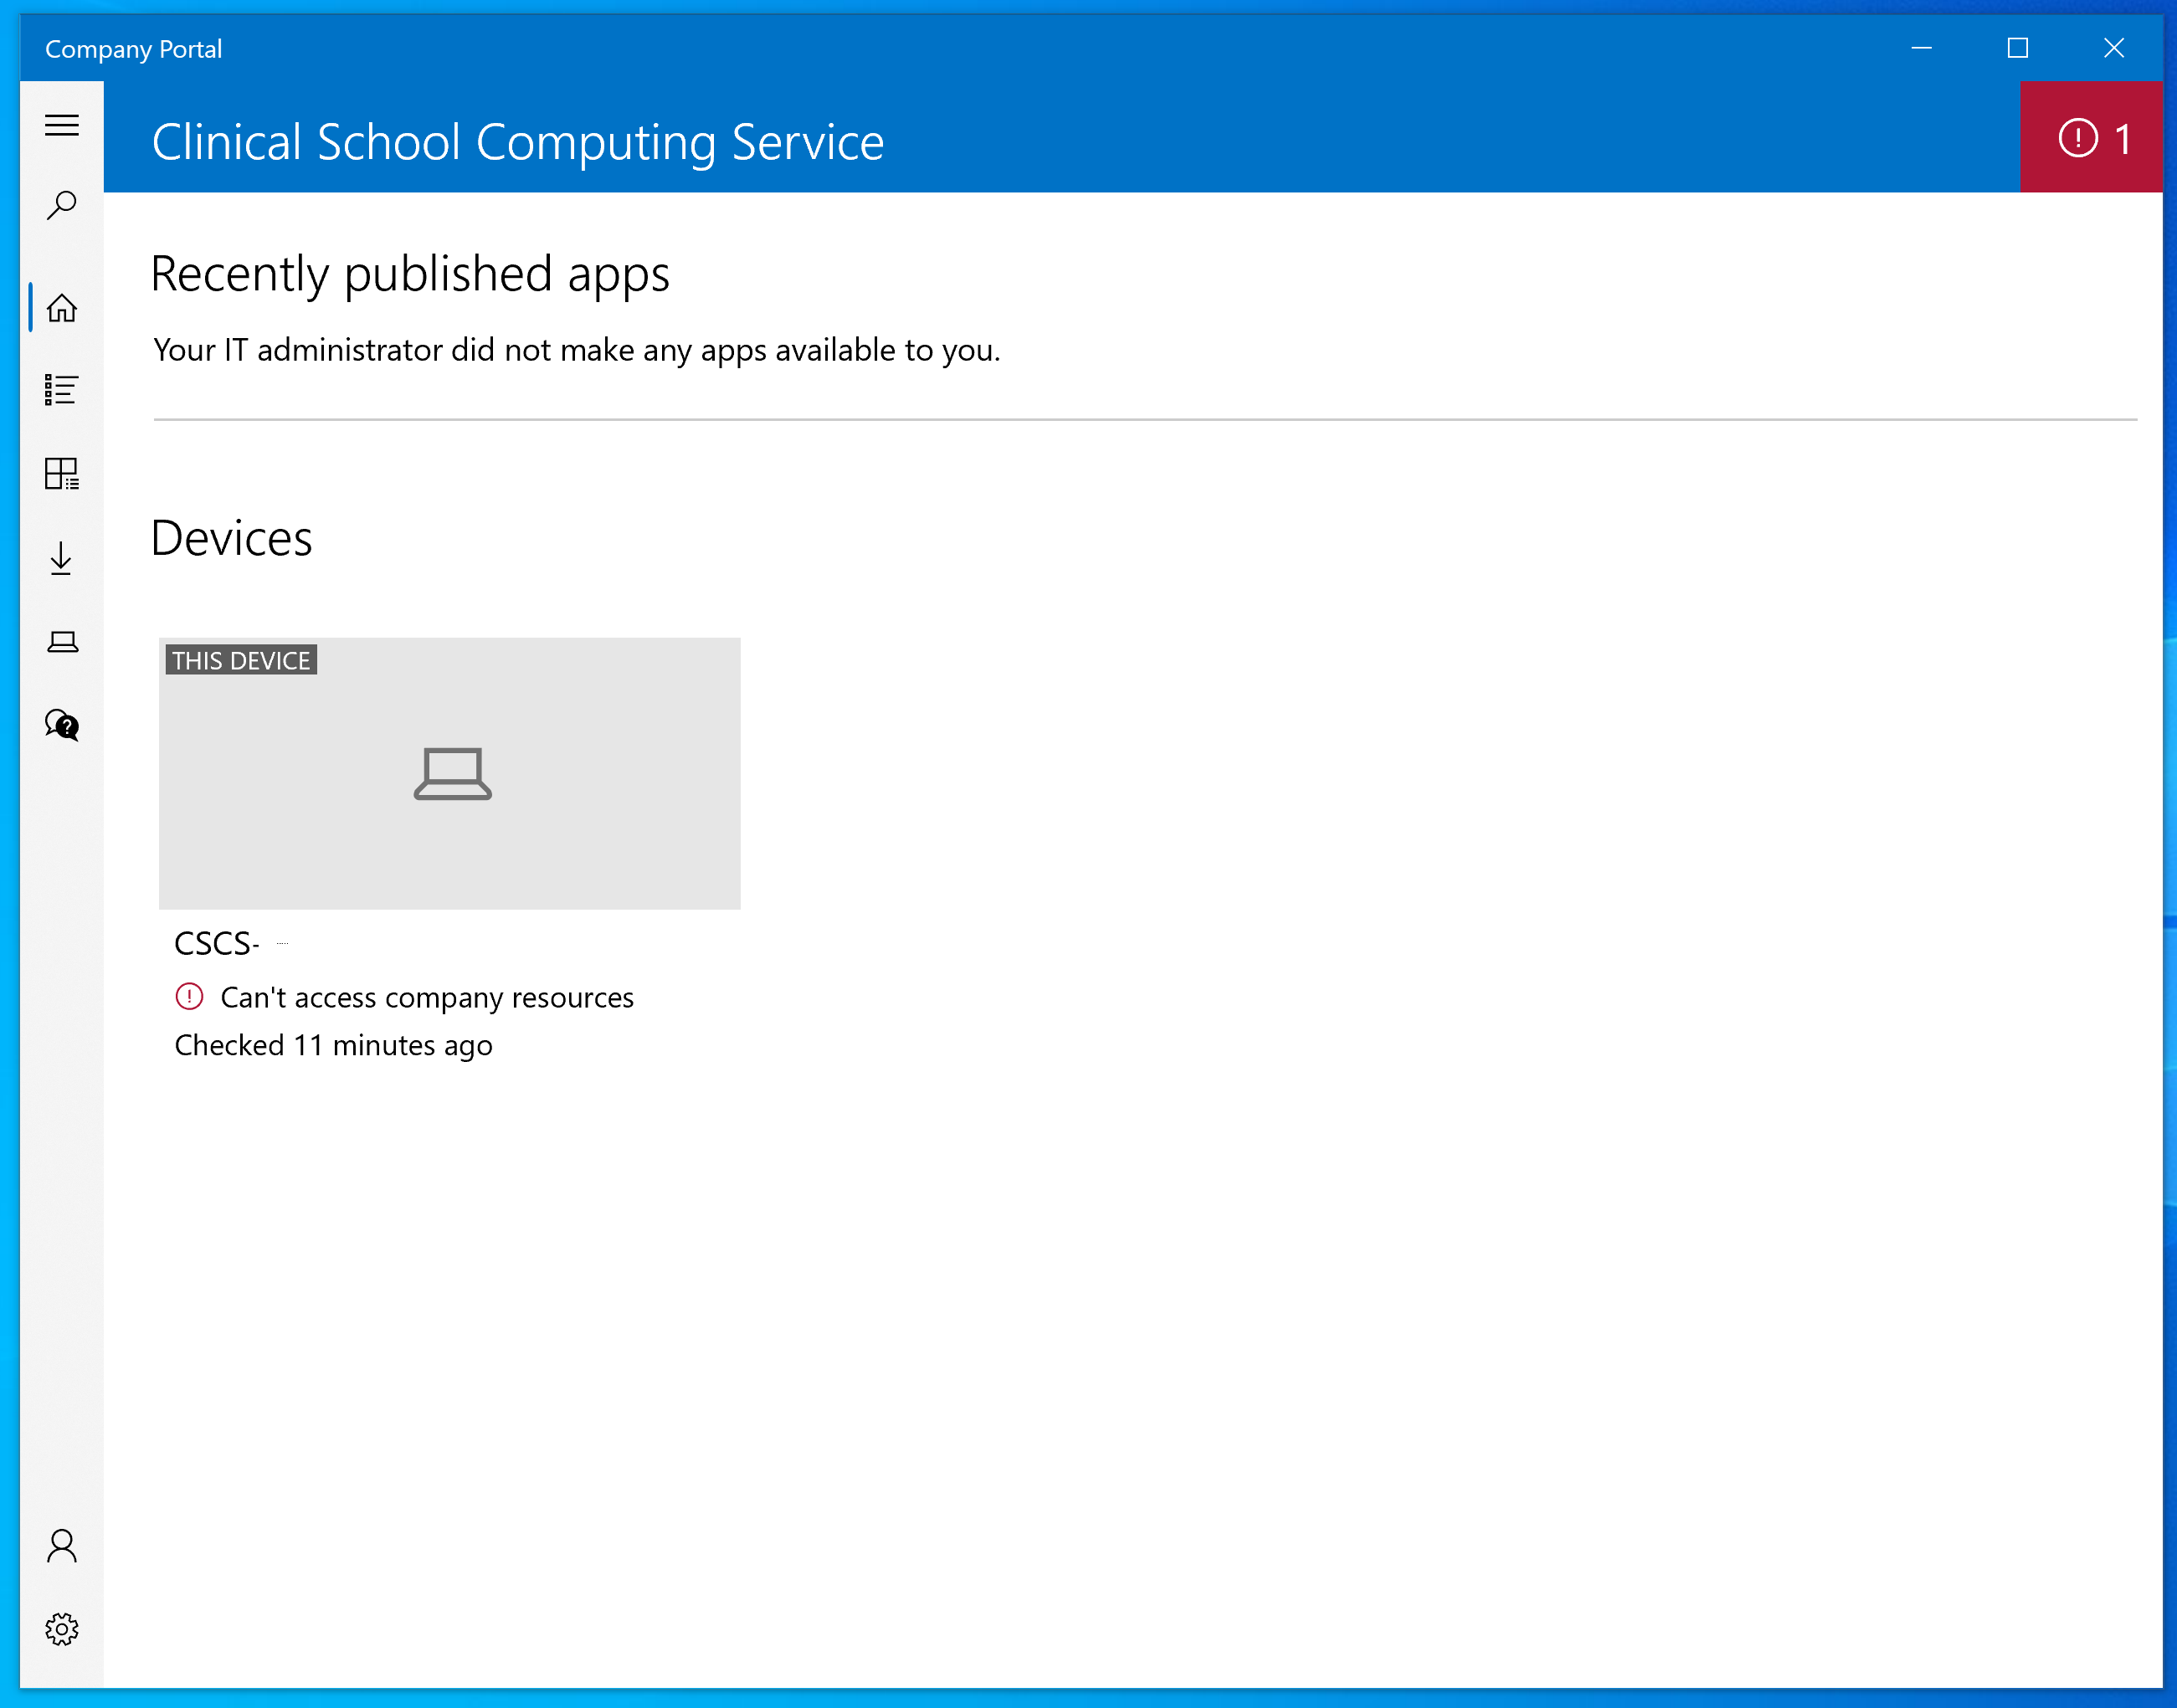
- Mapping network drives is the same as on other remote Windows devices - please see the guide page here: Mapping a Network Drive via VPN - Windows
- Installing applications - please visit "https://software.medschl.cam.ac.uk/" and select the software you need. You computer will be called "CSCS-<SerialNumber>" - the name can be confirmed by launching the Company Portal app, scrolling down the main page until you see "Devices", and you will see "This device" and the name underneath:
Alternatively, you should have Administrator rights on the PC, and can download and install applications yourself - if you cannot please contact the Service Desk to be made an administrator.
Confirming your setup:
Setting up Outlook (Office 365)
Adding an Office printer: Adding a printer
Copying data from a local account to a domain account
FAQ
Please see our FAQ pages for answers to common questions and issues: Intune FAQ's