Your New Computer
- Jennifer Allan
- Gareth Pullen (Unlicensed)
- Daniel Haak (Unlicensed)
Introduction
You should have been provided this link because you have a new Windows computer that is configured for a CSCS remote setup. This guide will take you through all the steps to get your computer set up.
Requirements
Internet connection of at least 10Mb/s (please see Home Networking and Connection Issues for recommendations)
Ethernet cable to connect the computer directly to your internet router (preferred) or the name of your WiFi and the password to connect.
If a desktop computer you'll also need a monitor, mouse and keyboard.
You must have changed your RAVEN password from the one initially set: https://password.raven.cam.ac.uk/
You must also have configured Multi Factor Authentication on your RAVEN account, as this is now required by UIS: https://help.uis.cam.ac.uk/service/accounts-passwords/multi-factor-authentication/mfa-set-up
For a Zero-touch device: if you have a 10Mb/s internet connection the download & setup time is approximately 2 hours. On a 100Mb/s connection it is approximately 60-90 minutes.
Instructions
- If possible, connect your computer to the network by plugging in an ethernet cable (preferred as it will be more reliable)
- Connect the computer to the mains, and power it on.
- Choose a language (only required when multiple languages are installed), locale, and keyboard. (See below)
Note: If you instead see a login page the device has been pre-provisioned by CSCS, please skip to step 7.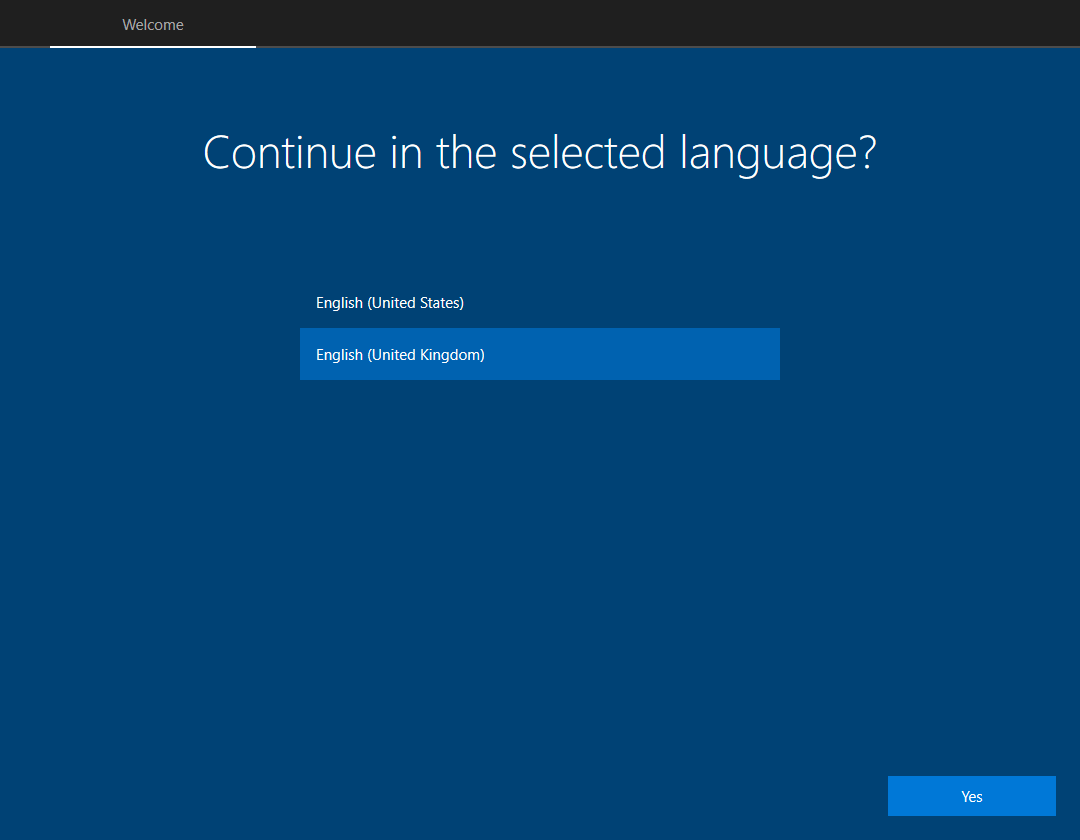


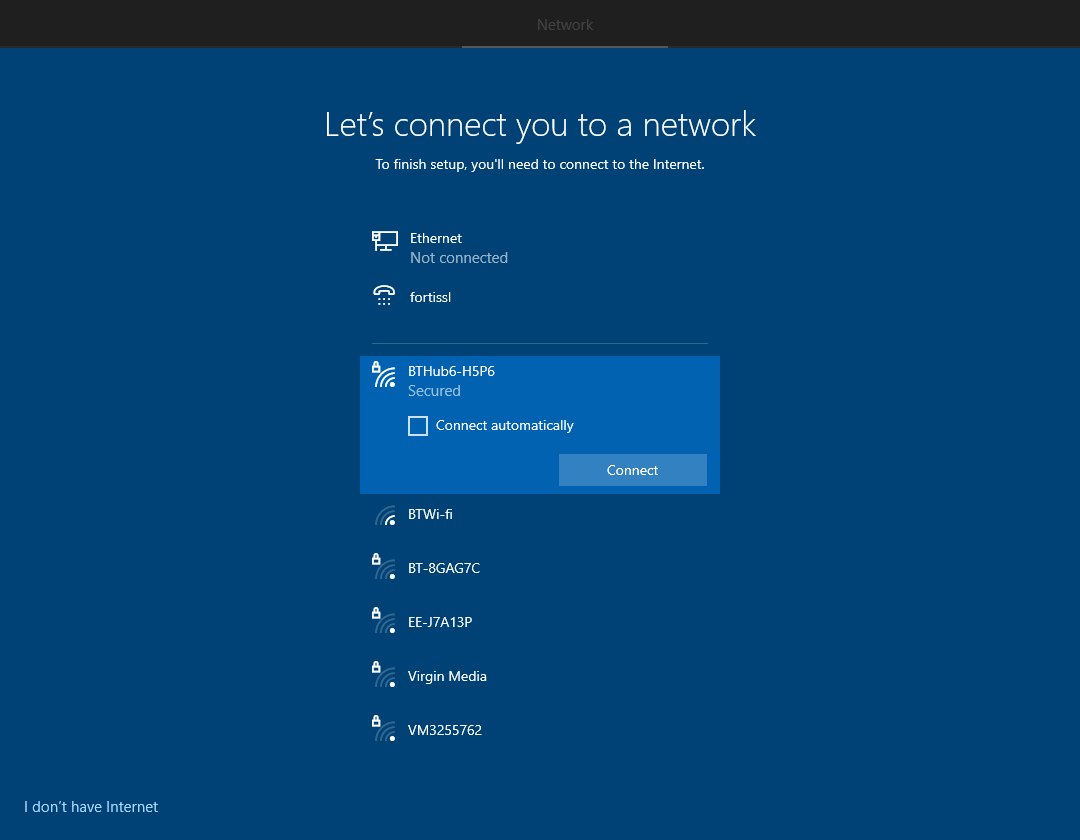
- Connect to a wireless or wired network with internet access. If using wireless, enter your home Wi-Fi information. Note: Please do not use the UniOfCam or Eduroam WiFi for this step, as doing so would prevent your computer from connecting properly. Instead use your home wireless network.
- Enter your crsid followed by @medlan.cam.ac.uk or @biosci.cam.ac.uk (for Zoology / Biosci users) and you will be re-directed to our sign-in page (see below). Please enter your Clinical School password to sign in to the device.
Note: If you instead see a screen saying the device is being setup, please see our "Self-Deployment" guide.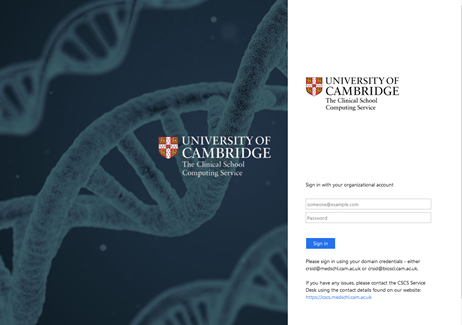
- You will see the page below whilst the device is configuring. Please wait for this to complete and prompt for login, your device will then be ready to use. For a Zero-touch device: if you have a 10Mb/s internet connection the download & setup time is approximately 2 hours. On a 100Mb/s connection, it is approximately 60-90 minutes. (Hint: You may want to let this run overnight).
White-glove and VIP devices have already had this software pre-installed.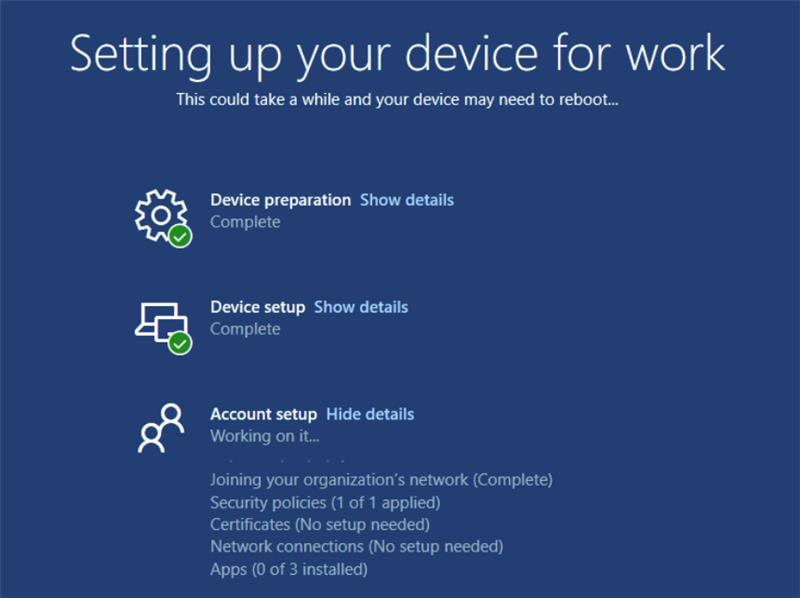
- During this time the following will happen:
- Basic computer set up
- Windows settings & security settings such as the Firewall, logon settings, BitLocker encryption
Software will be downloaded & installed:
Microsoft Office and Microsoft Teams
Please note some programs might take a few hours to download and not appear when you first login to your deviceThis is known behaviour for MS Office 365 and MS Teams - Once they appear please sign into both programs using your using your "<crsid>@cam.ac.uk" email address and Raven password.
- During this time the following will happen:
RAVEN
- Before you sign in to office and OneDrive, you must ensure you have reset your RAVEN password (if you are a new-starter and have been supplied with the pre-set password) - or know your current RAVEN password. Please visit the "Raven Password Management Site" to reset it.
- You should also configure "Multi Factor Authentication" for your RAVEN account: https://help.uis.cam.ac.uk/service/accounts-passwords/multi-factor-authentication/mfa-set-up
- MS Teams will automatically sign you in with your @medschl account - which is not in use. You will need to sign out and back in with your @cam account. Please see our MS Teams page for more information.
- What you should do next
- Log into the Computer using your normal "crsid" and CSCS password. If the PC has not finished synchronising (or you are using a Zoology / Biosci account) you may need to enter your crsid followed by @biosci.cam.ac.uk (for Zoology / Biosci users) or crsid@medlan.cam.ac.uk as the username the first time.
Log into One drive using your "<crsid>@cam.ac.uk" email address and Raven password.
Note: Once you sign in to OneDrive your "Documents", "Desktop" and "Pictures" folders will redirect to OneDrive (any existing local files will be uploaded automatically. Please see our guide on copying your Home Drive (U://) contents to your OneDrive.)Please read the UIS page on Data Security Classification and Guidance regarding OneDrive: https://help.uis.cam.ac.uk/service/storage/onedrive/security-guidance
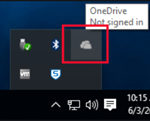
- Click on the OneDrive icon by the clock (you may need to click the "up arrow" to show the icon):
- You will then get a popup box, click "Sign in"
- You will then get a new box asking for your email address - please enter your "<crsid>@cam.ac.uk" email address and click "Sign in" and you will then be taken to the University of Cambridge branded login page:
- Enter your Raven password and click "Sign in"
- The OneDrive icon will then change to become blue, indicating it has signed in:

- Open Explorer - by clicking on the Folder icon on the desktop, or by pressing the Windows key and E together.
- You should see "OneDrive - University of Cambridge" listed on the left:
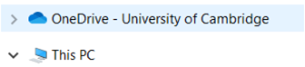
- Expand this by clicking the arrow beside it, and you should see at least the folders "Desktop" and "Documents" listed.
- Create a file on your Desktop - right-click on a blank space of the Desktop and choose "New > Text Document" you can give it a name or leave it as "New Text Document". It should briefly show two blue arrows in a circle, indicating it it being Synchronised to OneDrive, before then getting a green-tick indicating it has been uploaded:

Synchronising Synchronised - Go to the "Documents" folder in Explorer, and repeat the process - the file should get the blue arrows in the "Status" column initially, before changing to a green-tick:


- If you had anything in your University of Cambridge OneDrive you should see it listed in the OneDrive folders.
- Click on the OneDrive icon by the clock (you may need to click the "up arrow" to show the icon):
- Launch the "Company Portal" application (search the Start menu for "Company Portal"):

If prompted, select the correct category (Medschool or Zoology) and click Done (If you are not prompted then this may have been pre-set):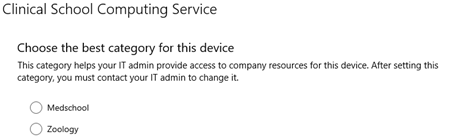
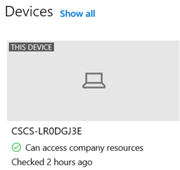
Please note: When you first open the Company Portal App (or if your device has not been switched on for 4+ days) you may be present with a screen which says in red "Can't access company resources". This is simply as the device is still applying our security policies or checking in with the service and is nothing to be concerned about. After about 20-30 minutes of the device being on this page should go green and advise that company resources are accessible.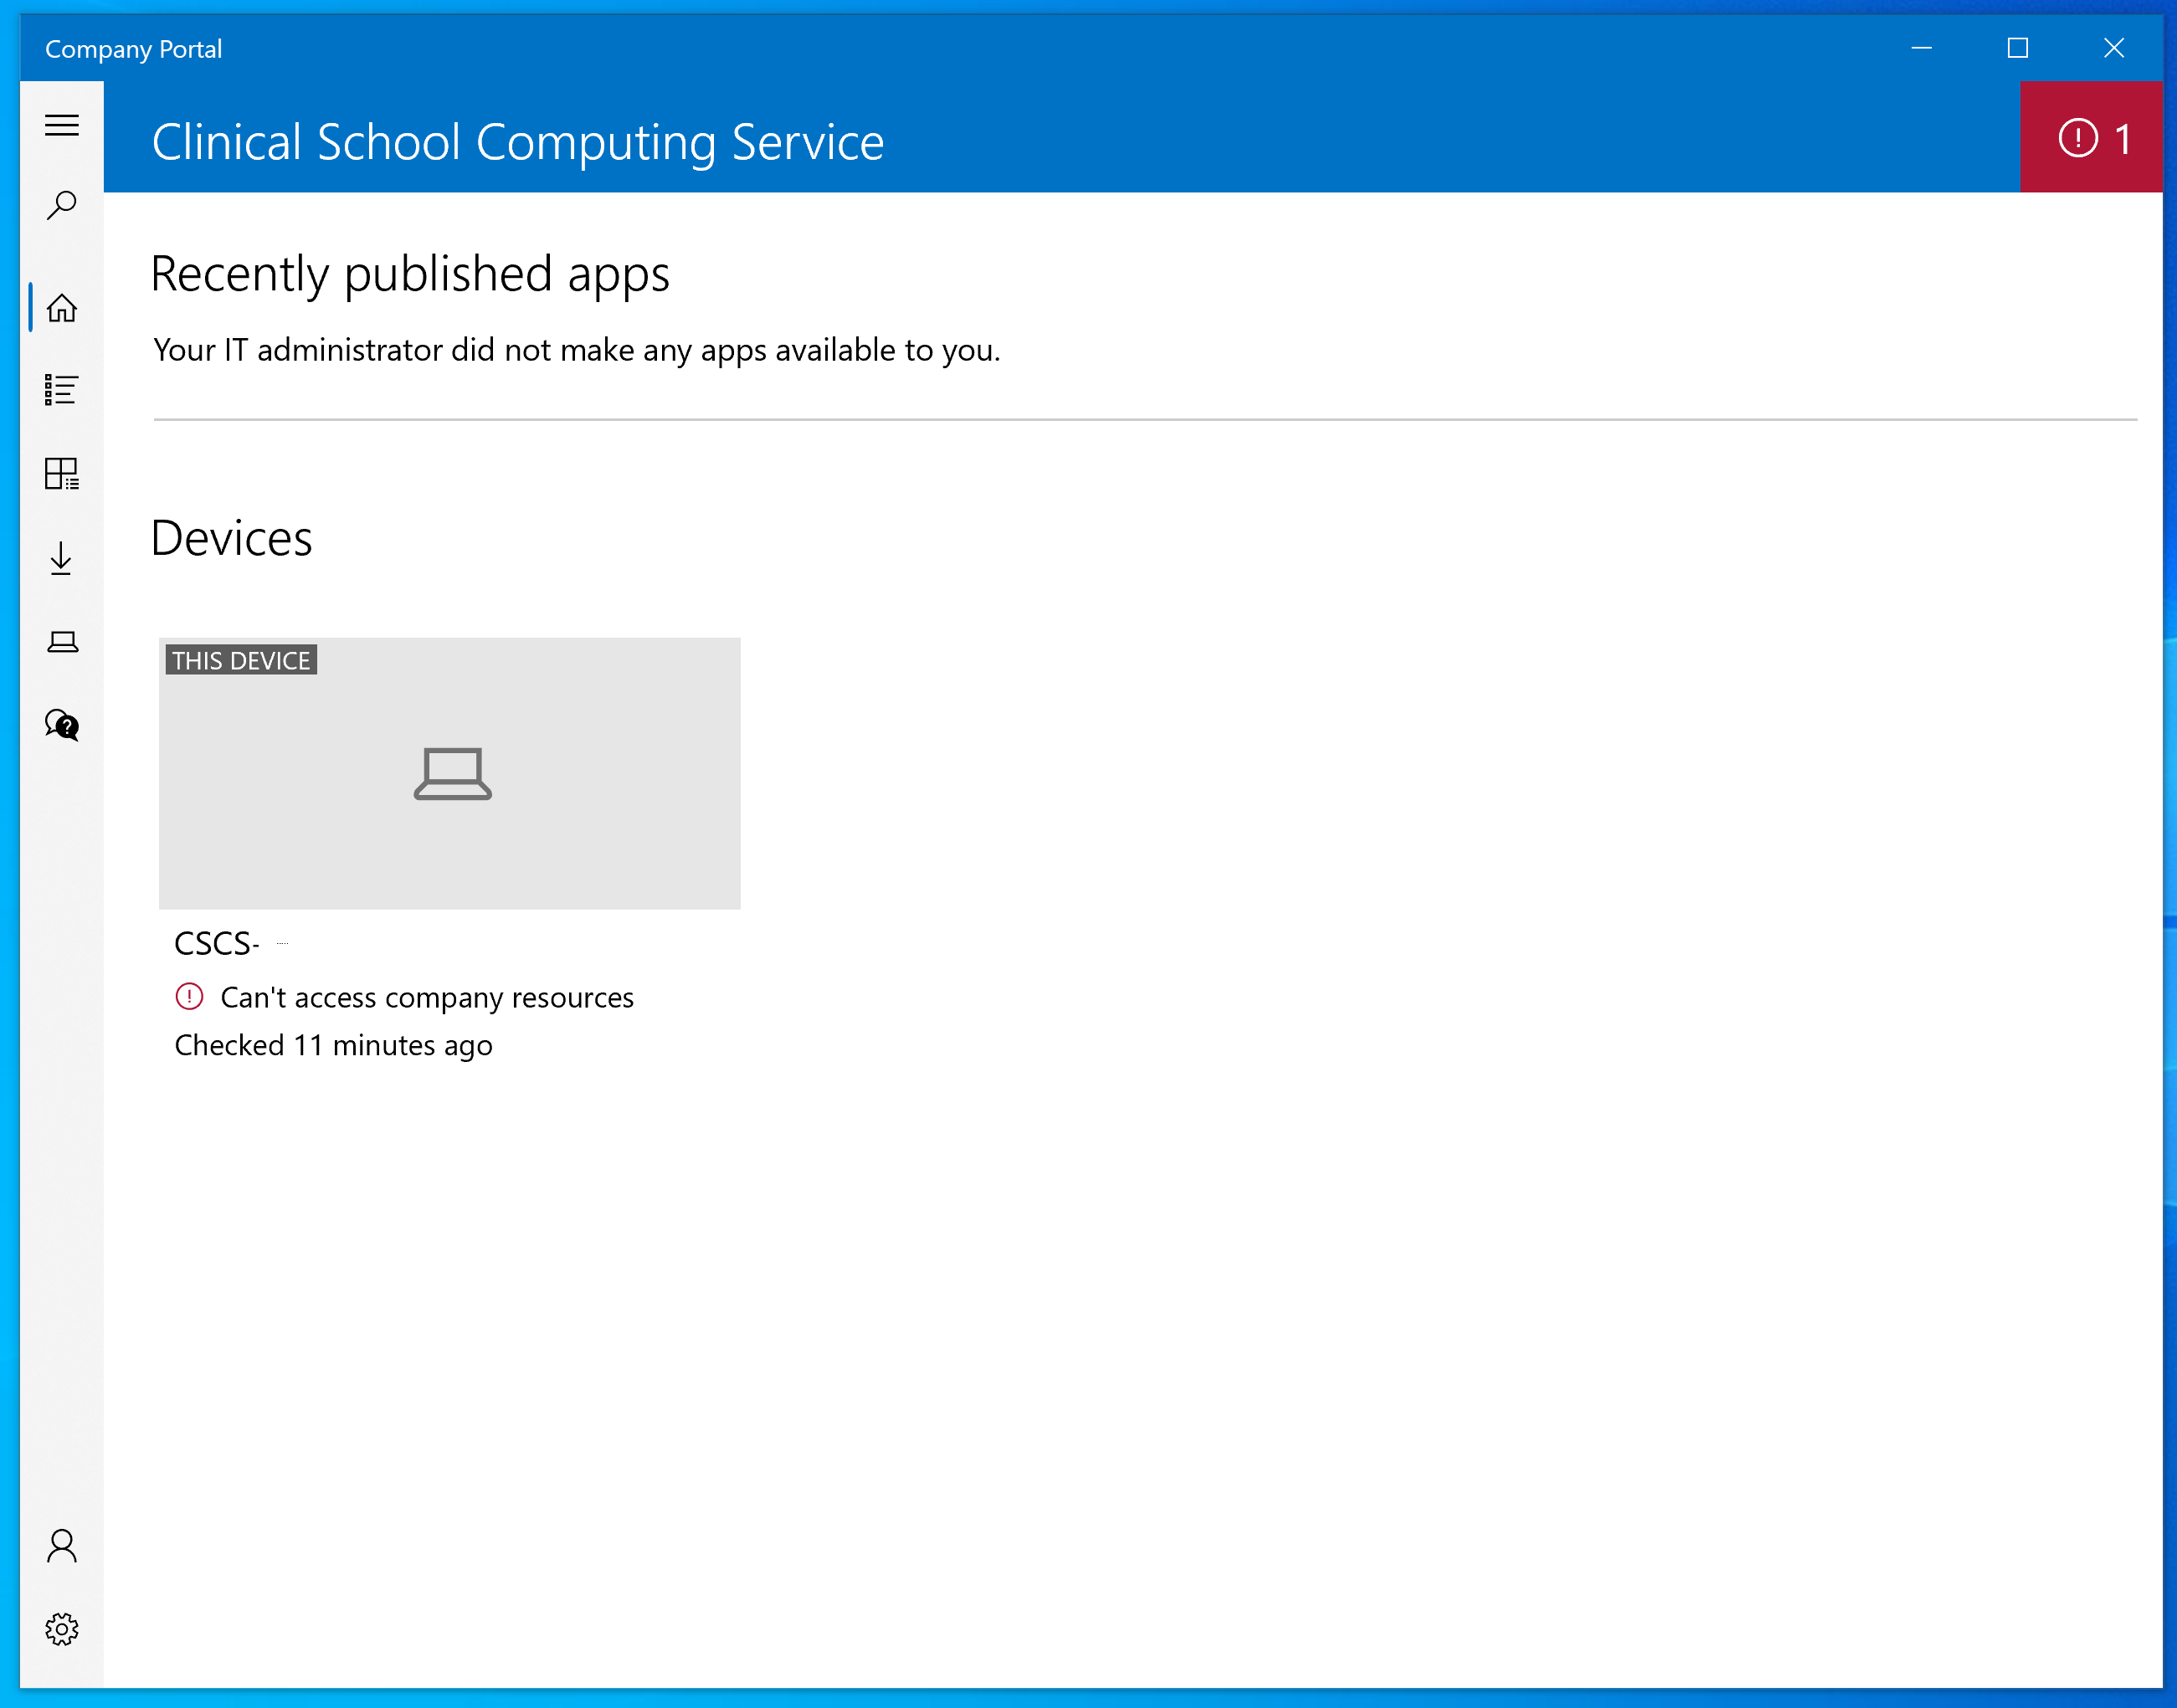
- Mapping network drives is the same as on other remote Windows devices - please see the guide page here: Mapping a Network Drive via VPN - Windows
- Installing applications - please visit "https://software.medschl.cam.ac.uk/" and select the software you need. You computer will be called "CSCS-<SerialNumber>" - the name can be confirmed by launching the Company Portal app, scrolling down the main page until you see "Devices", and you will see "This device" and the name underneath:
Alternatively, you should have Administrator rights on the PC, and can download and install applications yourself - if you cannot please contact the Service Desk to be made an administrator.
Applications:
There are links below to guides for signing in & configuring each application:
FAQ
Please see our FAQ pages for answers to common questions and issues: Remotely Managed Device FAQ's